Dry-Fire Practice Techniques at Home: Build Skill Without Burning Ammo
Want to sharpen your shooting skills without heading to the range? Learn the best dry-fire practice techniques at home, plus gear recommendations like snap caps, Mantis Laser Academy, and more.
Some of the links in this post are affiliate links. That means if you buy something, I might earn a small commission — it doesn’t cost you anything extra, and it helps keep the content coming.
Why Dry-Fire Matters
If you want to become a better shooter, you don’t always need live ammo. In fact, some of the most valuable practices you’ll ever get happens in your living room. Dry fire practice at home lets you refine your trigger press, sight alignment, and draw stroke without spending a dime on ammunition.
I’ve spent countless hours dry-firing. I used the Mantis Laser Academy to prepare for my CHL qualification, and my wife did the same. My kids have even used it as a safe way to build good habits before heading to the range. Those experiences taught me a simple truth: dry fire is one of the most effective and affordable ways to improve your shooting.
Safety First: Ground Rules
Before we get into techniques, let’s cover safety. Anytime you do dry fire, you need to treat dry fire practice with the same seriousness as live fire. Follow the Four Rules of Gun Safety as much as practicable.
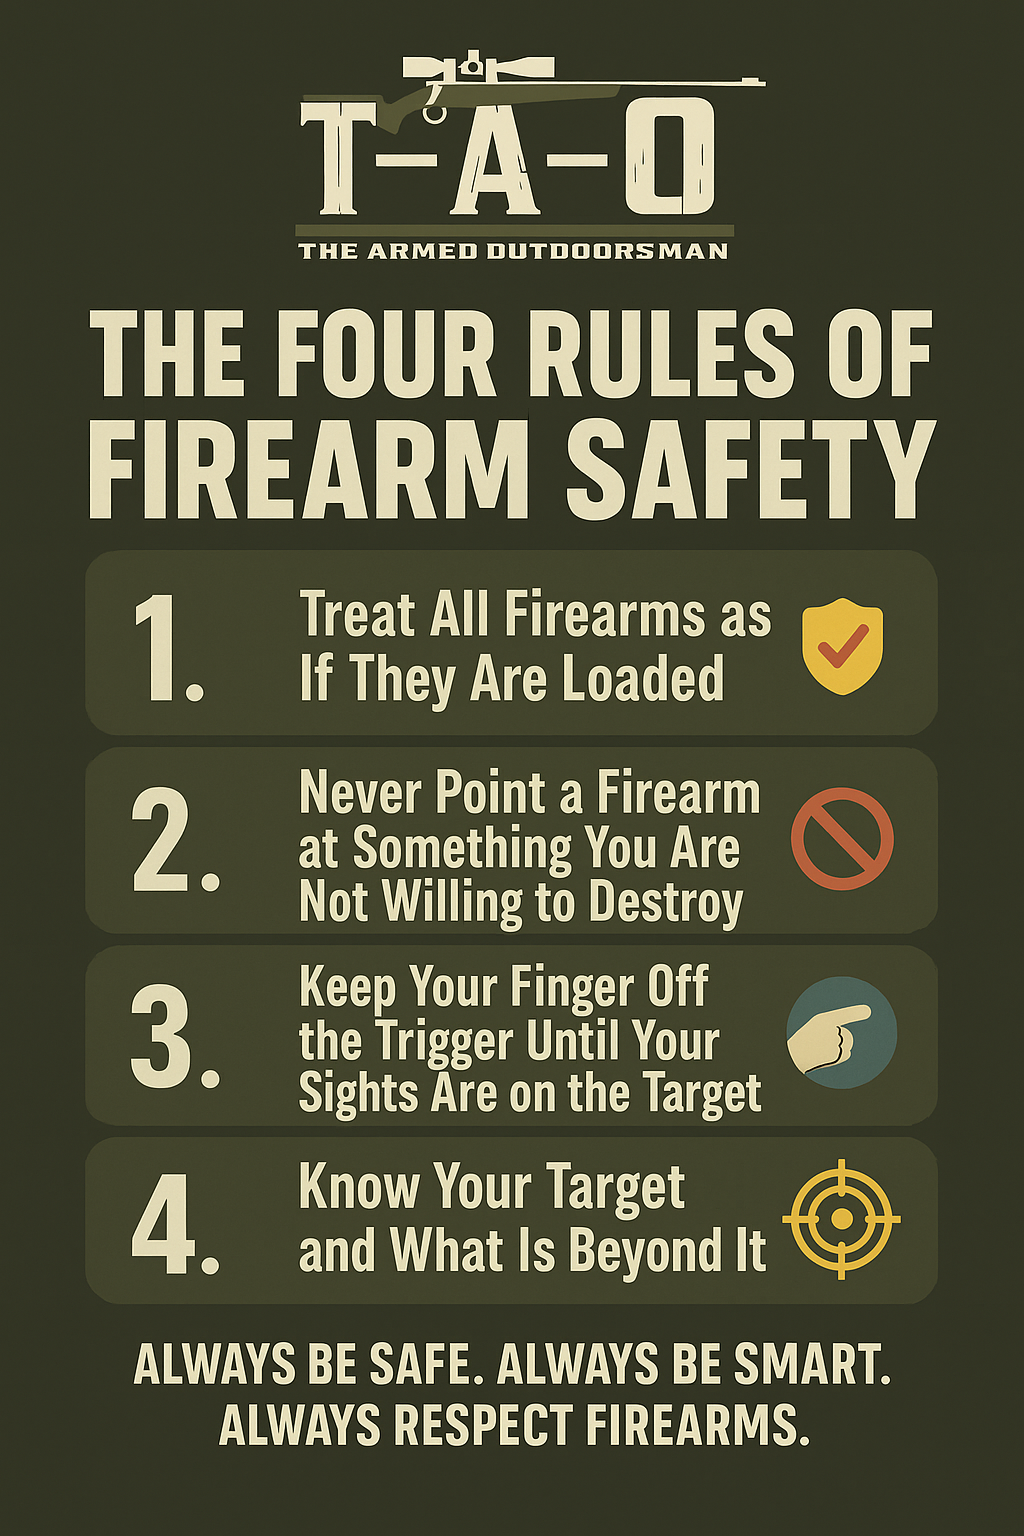
The 4 Rules of Gun Safety applied to dry fire:
- Treat all firearms as if they are loaded.
- Never point a firearm at something you are not willing to destroy.
- Keep your finger off the trigger until your sights are on the target.
- Know your target and what is beyond it.
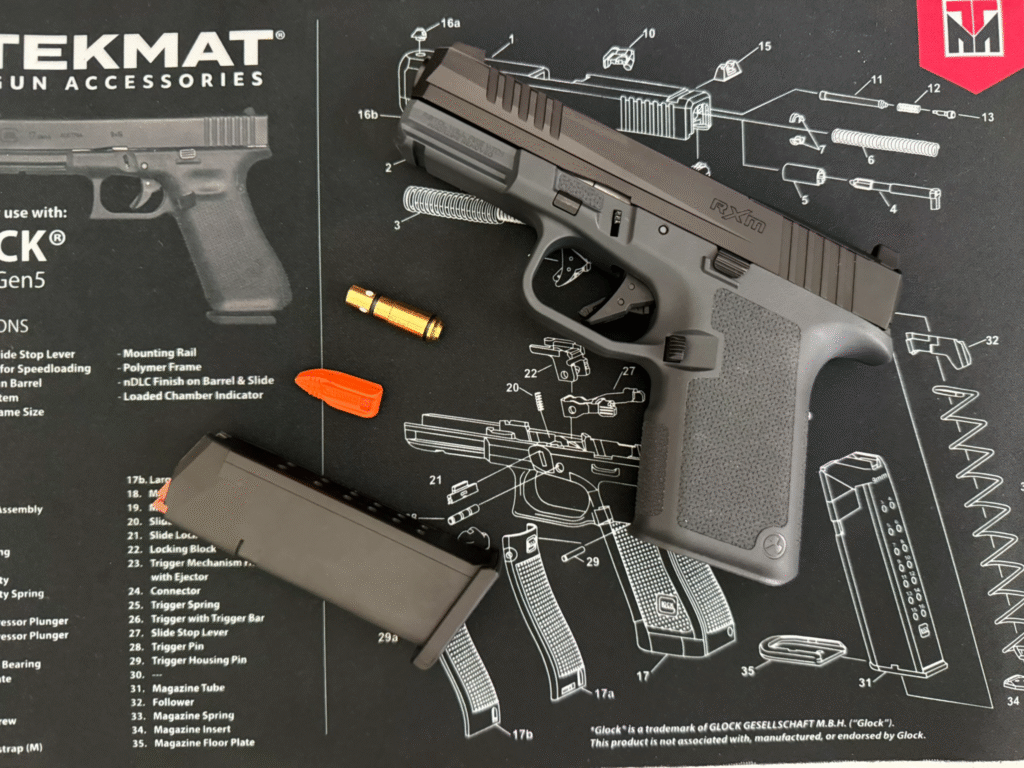
Remove your magazine from your firearm and then clear the firearm. Ensure you do not have any live ammunition around when doing dryfire drills to limit the possibility of an accident as much as possible. Do not have a magazine with live ammunition near your firearm.
Dry-Fire Drills You Can Do at Home
1. Trigger Control Drill
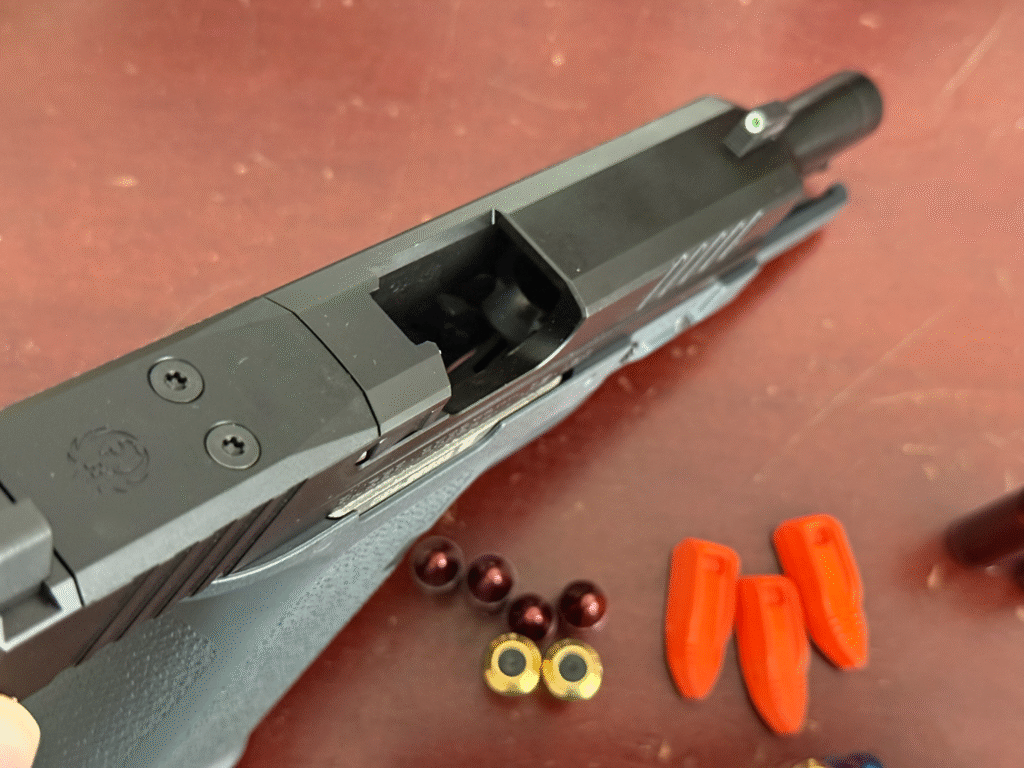
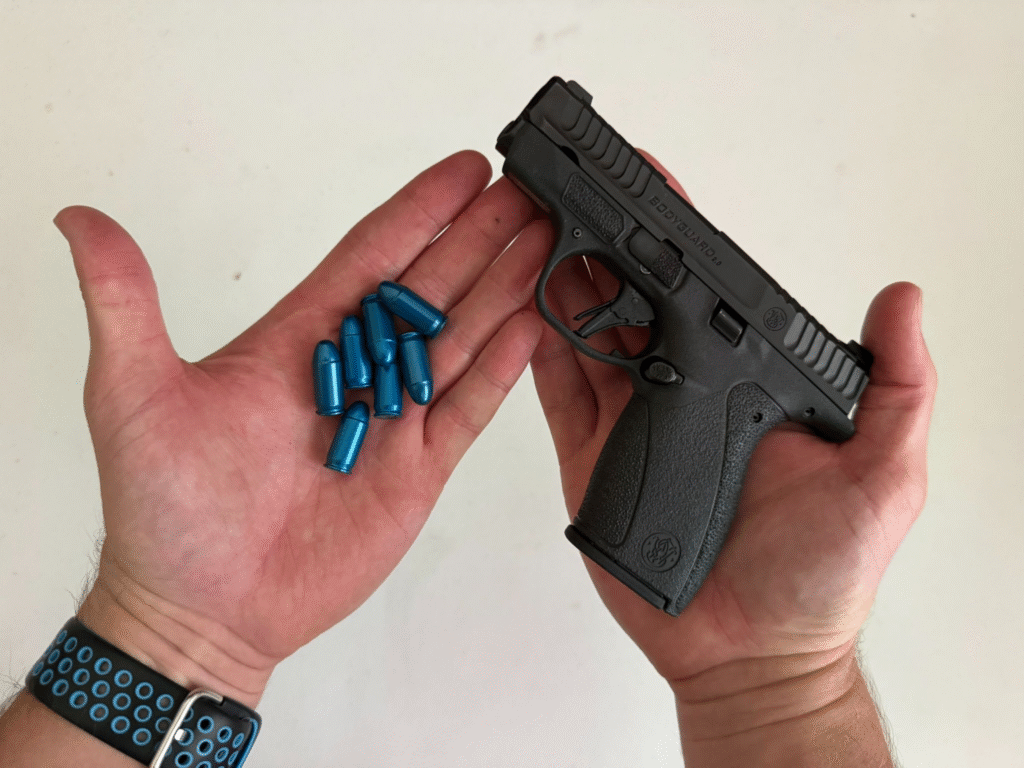
Set up a simple target on the wall. Focus on aligning your sights, then slowly press the trigger straight to the rear without disturbing your sight picture. This is where snap caps shine.
2. Wall Drill
Stand close to a blank wall with your unloaded firearm. Bring the sights up so you see nothing but your front sight. Press the trigger while keeping that front sight steady. This eliminates distractions and exaggerates any flinching or pushing.
3. Draw-and-Fire Drill
Practice your draw stroke from concealment, presenting the gun to the target, and pressing the trigger. Start slow, focusing on smooth, consistent movement. Once you’re confident, add a timer to build speed. A shot timer or the MantisX system adds valuable feedback.
4. Reload Practice
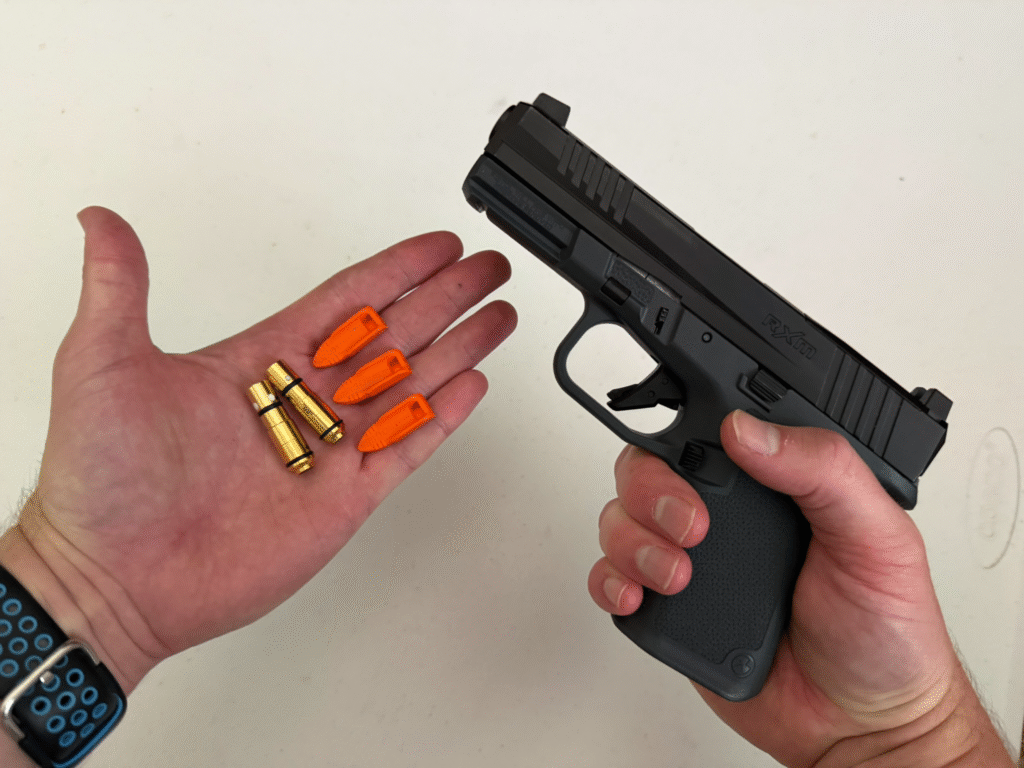
Use dummy rounds or snap caps to simulate empty magazines. Practice dropping the mag, reloading, and getting back on target. This drill builds muscle memory for one of the most common real-world skills.
5. Target Transitions
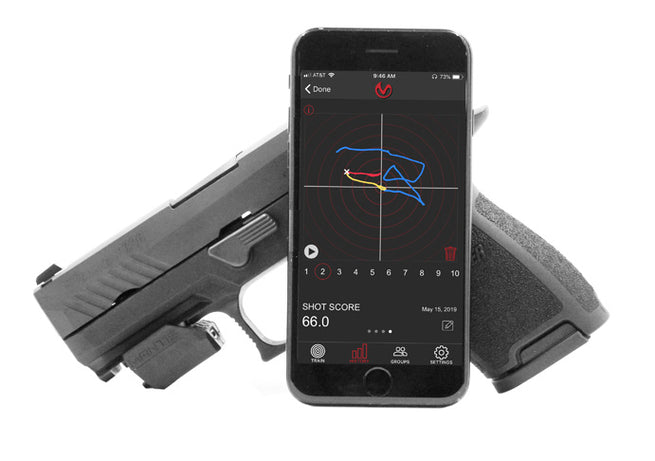
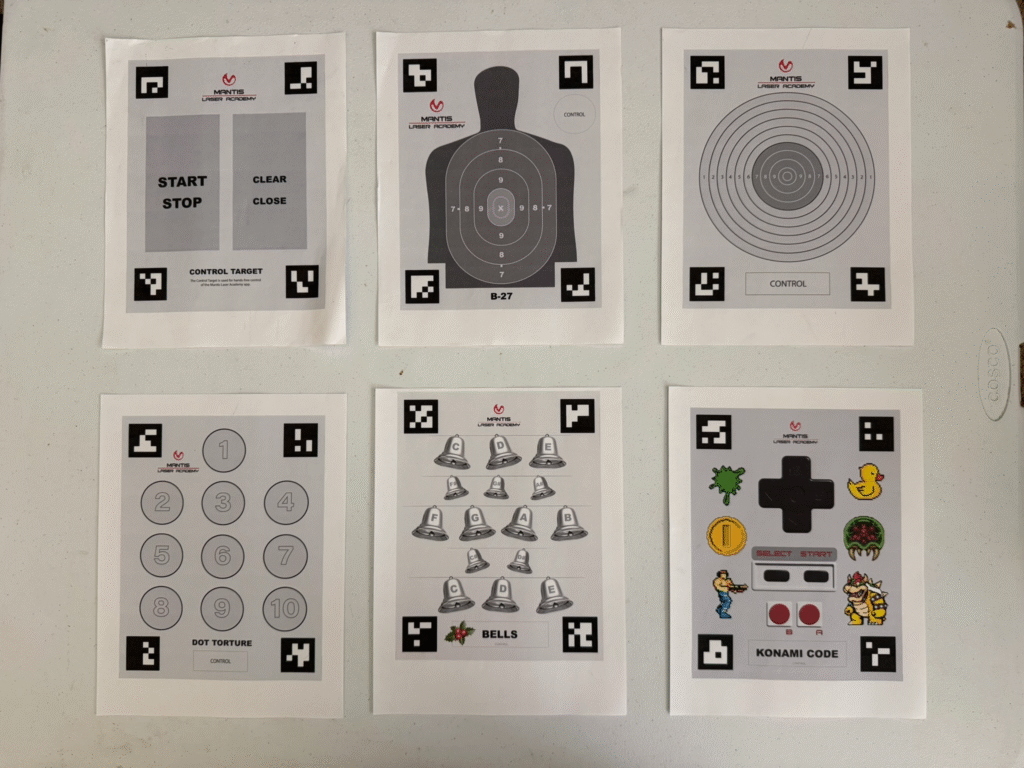
Set up two or three “targets” (paper plates on the wall work great). Practice moving your sights from one to the next, pressing the trigger each time you do so. Smooth transitions matter just as much as raw speed. Laser systems like the Mantis Laser Academy let you actually see where your shots would have landed.
Taking Dry-Fire to the Next Level
Dry fire doesn’t have to feel boring. Technology now enables you to track performance, receive feedback, and even turn it into a game.
For me, the Mantis Laser Academy has been a game-changer. I used it for weeks leading up to completing my CHL class and passing the qualification. My wife did the same, and by the time she went to qualify, she was already confident in her fundamentals. To be honest, I think she is probably a better shot than I am after comparing her results to mine.
Even my kids have used it. It’s safe, interactive, and gives them a way to learn sight picture and trigger discipline without firing a live round.
Other options include the LaserLyte training system and the MantisX Elite system, which attaches to your firearm and tracks recoil, trigger movement, and follow-through.
Building Habits
Dry fire is most effective when it’s consistent. Five minutes a day beats one marathon session every two weeks. Make it a routine:
- Set up a safe, designated practice space.
- Run 10–15 reps of a few drills each evening.
- Log your times, scores, or number of clean reps.
Think of it like push-ups for shooters. Small, consistent effort adds up fast.
Gear I Recommend for Dry-Fire at Home
Budget Option:
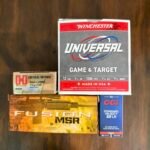
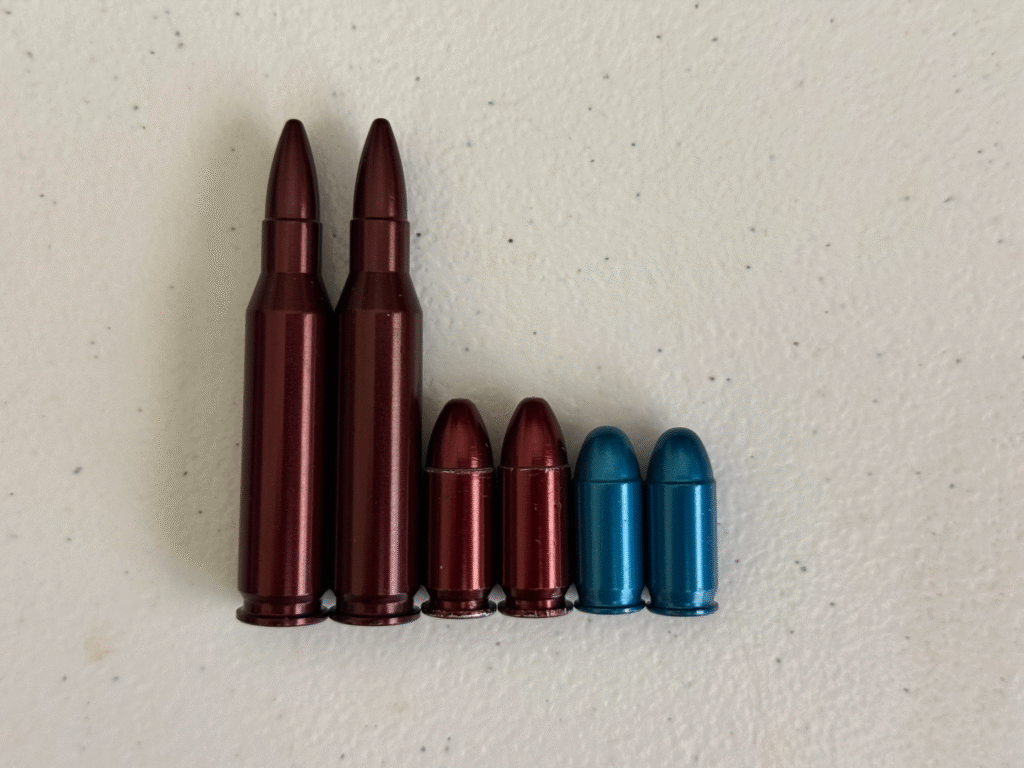
- Snap Caps (dummy rounds for safe practice)
- Paper targets / sticky notes on the wall
Mid-Range Option:
or
Premium Option:
Last Words
Ammo costs money. Range time takes planning. However, dry fire practice at home is free (once you have snap caps), flexible, and proven effective. Whether you’re a brand-new gun owner learning fundamentals or an experienced shooter who wants to shave seconds off your draw, dry fire builds skill that transfers directly to the range.
I’ve seen it firsthand. My wife and I passed our CHL courses with confidence because of the work we put in at home. My kids are learning the right habits long before they ever squeeze off a live round. And I’m a better shooter today because I made dry fire part of my routine.
If you haven’t started yet, there’s no better time than now. Clear your firearm, set aside the ammo, and start sharpening your skills.
Join our mailing list and never miss out on the latest from The Armed Outdoorsman.