How to Clean Your Pistol: A New Gun Owner’s Guide
So you just picked up your first pistol and you’re ready to hit the range. Great! Before you hit the range, it is a good idea to give your pistol a once-over.
Some of the links in this post are affiliate links. That means if you buy something, I might earn a small commission — it doesn’t cost you anything extra, and it helps keep the content coming.
Introduction
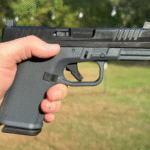
So you just picked up your first pistol, maybe a Glock 43x, 19, 26, or a SIG P365, and you’re ready to hit the range. Great! But before your first time at the range, it is a good idea to give your pistol a once-over. Modern striker-fired pistols are very resilient, and after any serious shooting and at least once a year, you need to clean them. Proper cleaning keeps your firearm running smoothly, prevents corrosion, and extends its life.
The good news? Cleaning your pistol doesn’t require a giant tool chest full of gear. In fact, you can do a thorough job with just a handful of quality products.
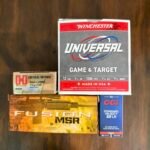
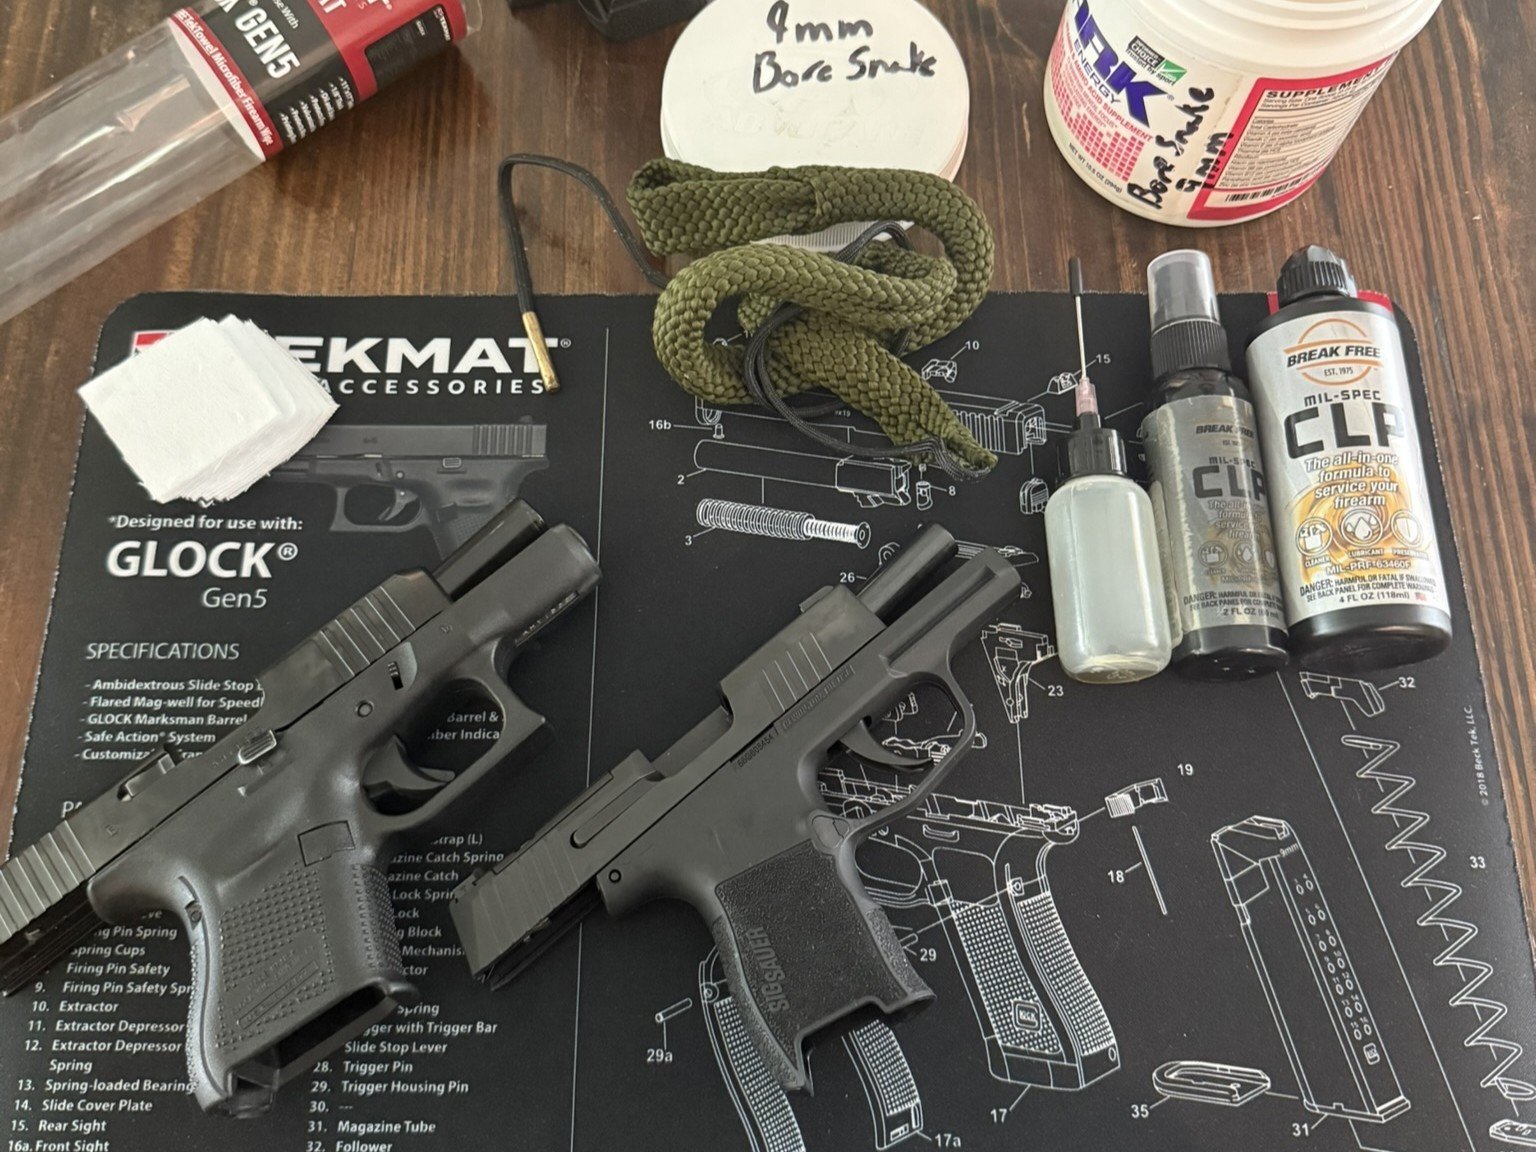
What You’ll Need
- BREAK FREE CLP Cleaner Lubricant and Preservative – 4 oz squeeze bottle
- BREAK FREE MIL-SPEC CLP Spray – 2 oz spray bottle
- TEKMAT 17″ x 11″ Handgun Cleaning Mat
- Gen 5 Glock: View on Amazon
- Sig P365: View on Amazon
- 2 Stainless Needle Tip Bottles (1 oz) – for applying CLP precisely
- Hoppe’s BoreSnake Pistol Cleaning Kit – choose your caliber (e.g., 9mm)
- PINGMIC Lint-Free Gun Cleaning Patches (2″) – for .22 to .45 cal
- Tipton Pistol Snap Caps (Optional but nice)
Clean Your Pistol: Step by Step Guide
Step 2: Unload and Clear Your Firearm
This step is non-negotiable:
- Drop the magazine.
- Rack the slide and visually and physically confirm the chamber is empty.
- Double-check. Then check again. Never assume.
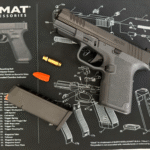
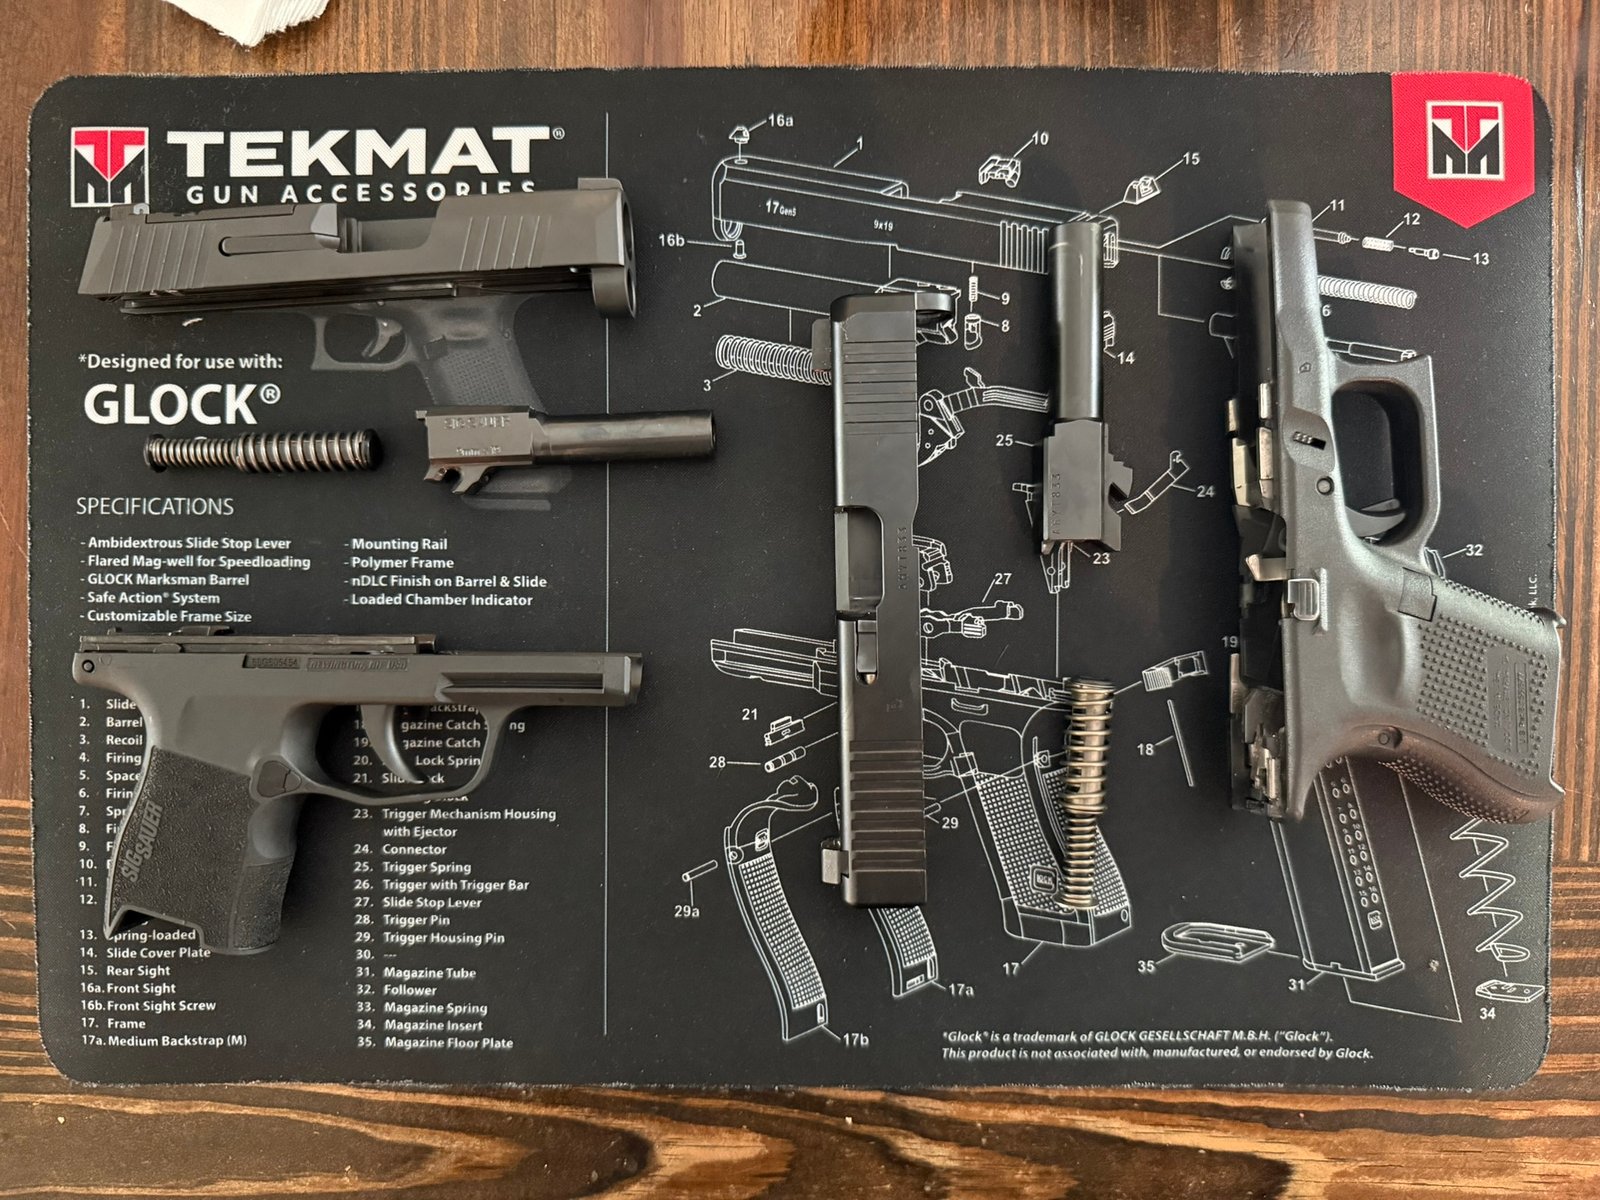
Once clear, proceed to field strip your pistol. For a Glock-style or P365 pistol, this means removing the slide, barrel, and recoil spring assembly. No tools needed, just follow your manual. Below you will find a video for the P365 and a video for the Glock 26.
Step 3: Clean the Barrel
Grab your BoreSnake for your pistol’s caliber (9mm in this case). Here’s how to use it:
- Spray some CLP onto the bore section of the BoreSnake.
- Drop the weighted end through the breech (the back end of the barrel) and pull it through toward the muzzle.
- Repeat 2–3 times.
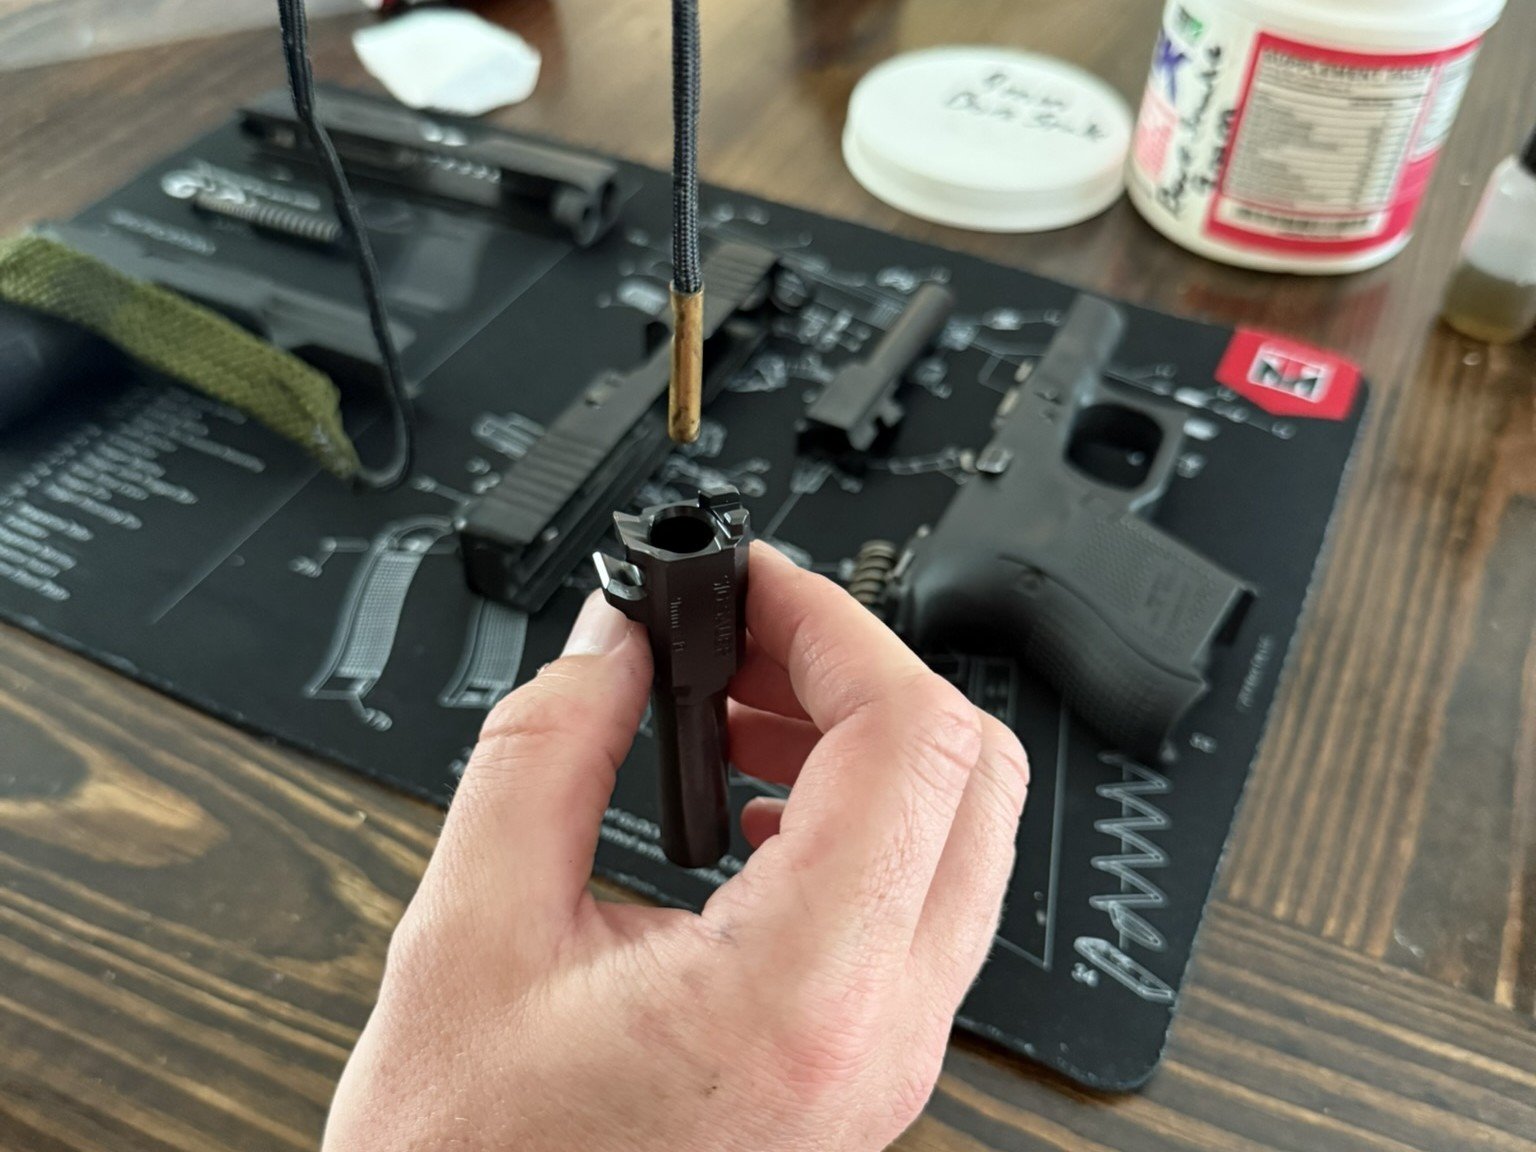
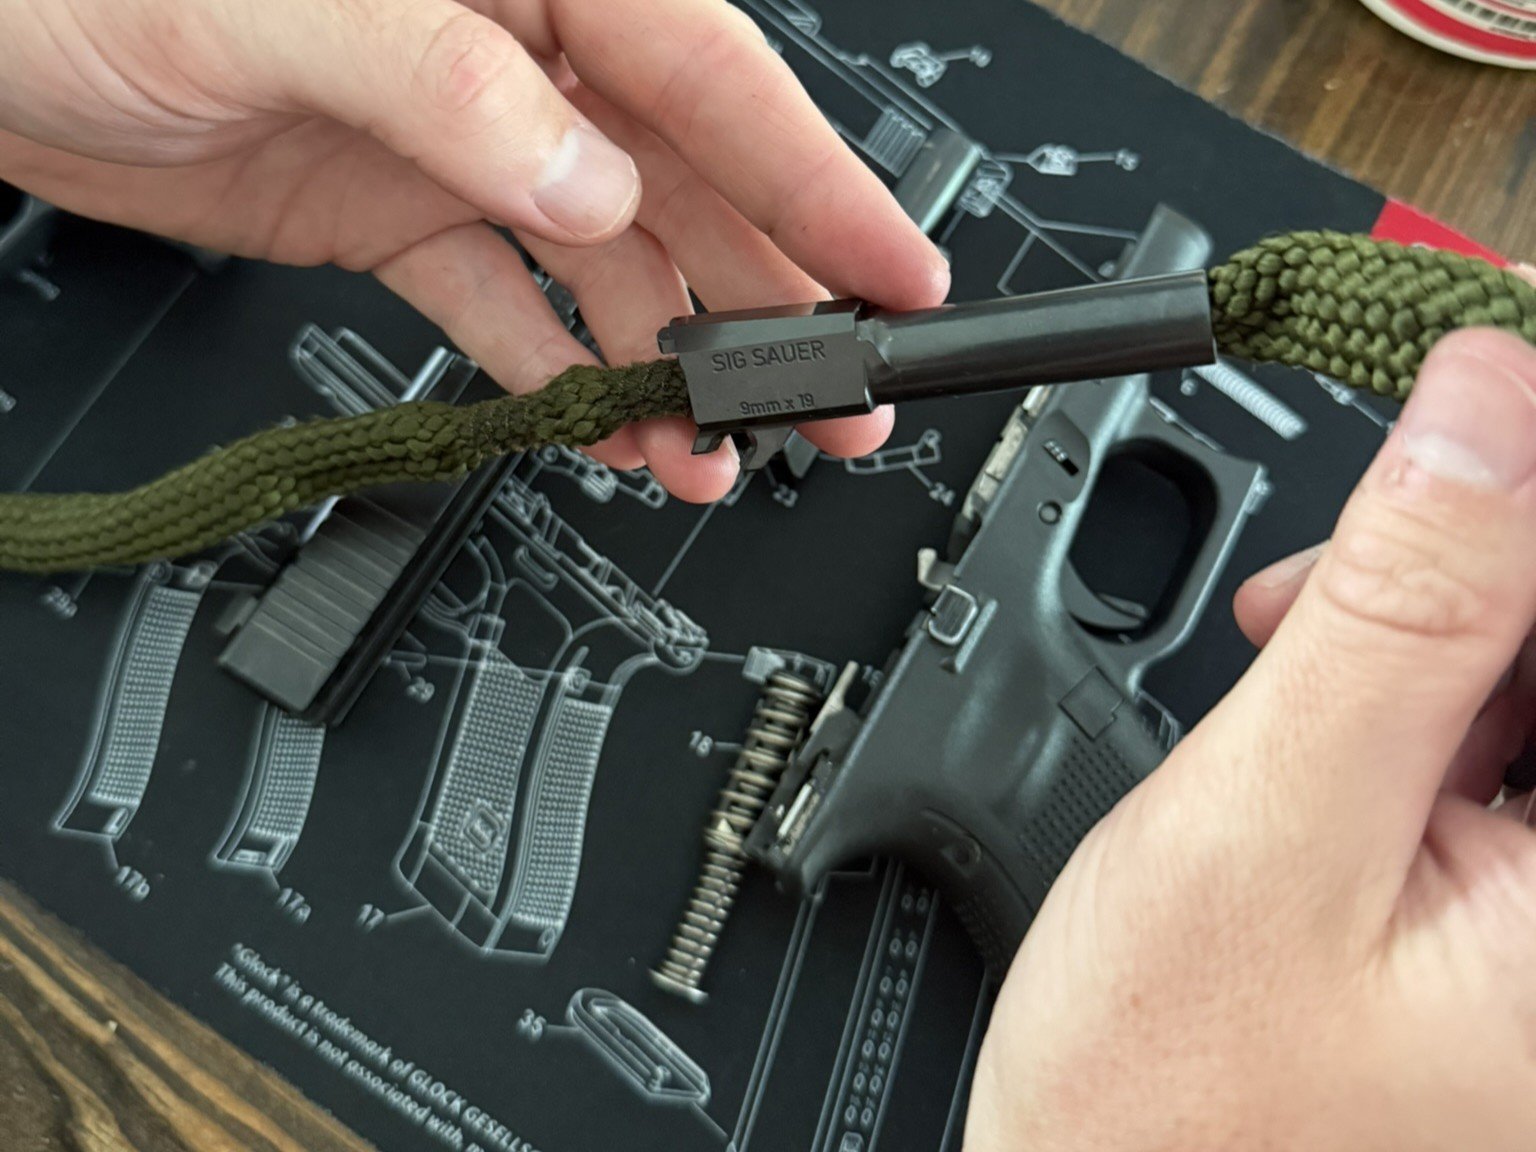
The BoreSnake scrubs, oils, and wipes the bore in one go, perfect for gun owners who want to keep things simple. I buy BoreSnakes for all my separate calibers and store them in old Advacare containers.
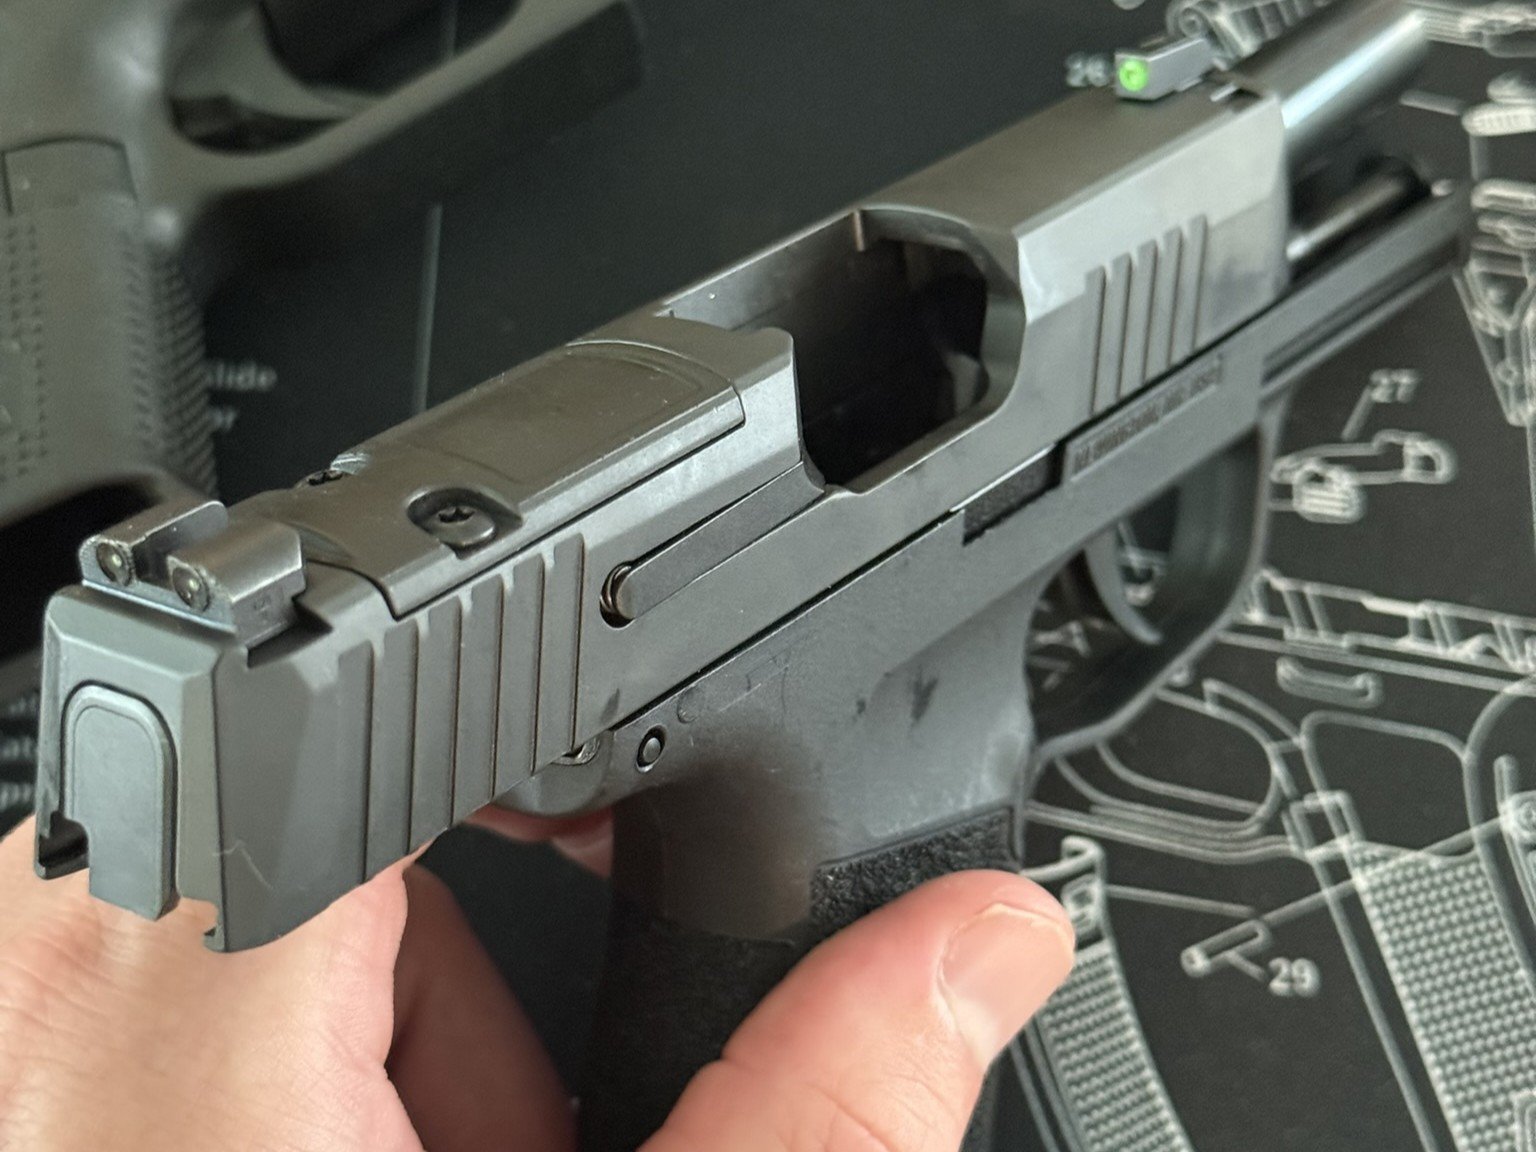
Step 4: Clean the Slide
Spray a light mist of CLP onto a cotton patch, then:
- Wipe the interior of the slide, especially the rails and breech face.
- Use dry patches to remove excess grime and oil.
- If needed, use a patch wrapped around your finger to get into tight spots.
- I keep an old toothbrush with my supplies to use as well.

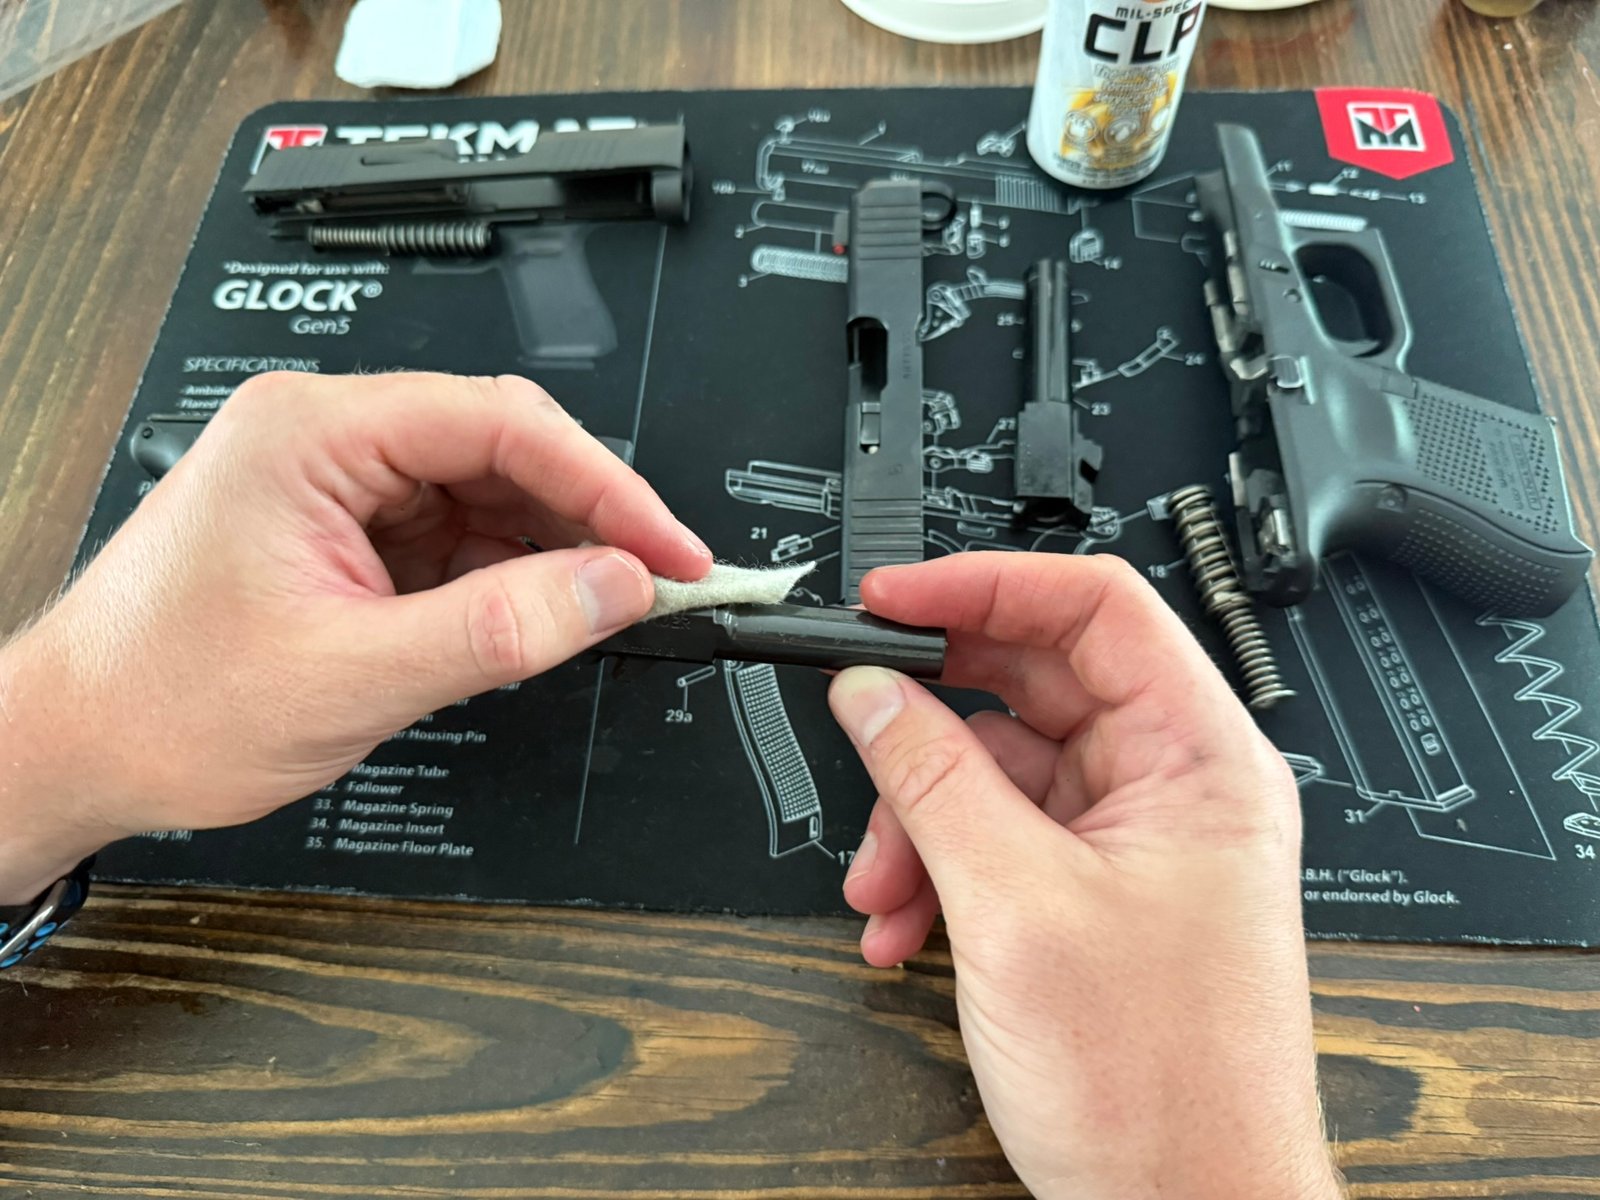
For more precise control, squirt some CLP from the 4-oz bottle into the needle tip bottles, and apply a tiny bead directly to rail grooves or corners with carbon buildup.
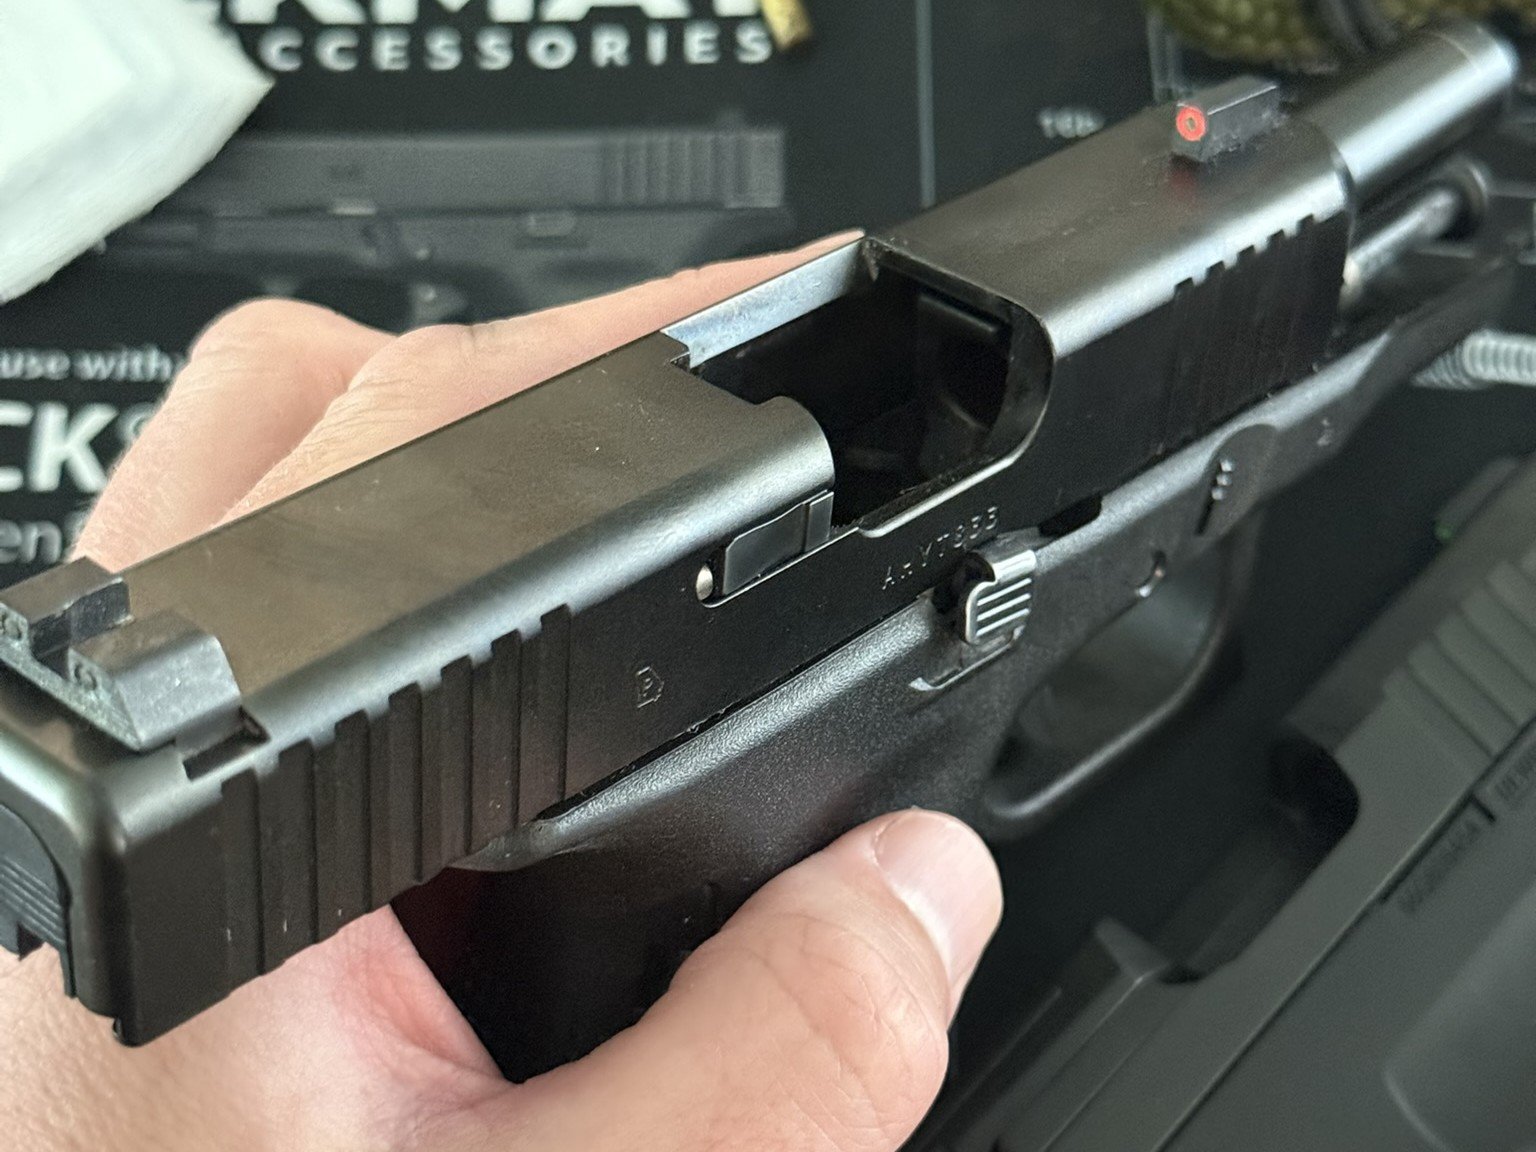
Step 5: Clean the Frame
Dampen another patch with CLP and wipe down the rails and internal surfaces of the frame, where the slide rides. Then use a dry patch to clean up any dirty residue or over-oiling. You don’t need to soak the frame; just clean off the gunk.
Step 7: Lubrication Points
With your pistol cleaned, it’s time to lubricate. Use your needle tip bottle filled with CLP to apply a drop to these spots:
- Each slide rail (both sides of the frame)
- Barrel hood (where it contacts the slide)
- Top of the barrel, where it interfaces with the slide
- Recoil spring ends (optional but helpful)
- Connector and trigger bar contact points (Glocks)
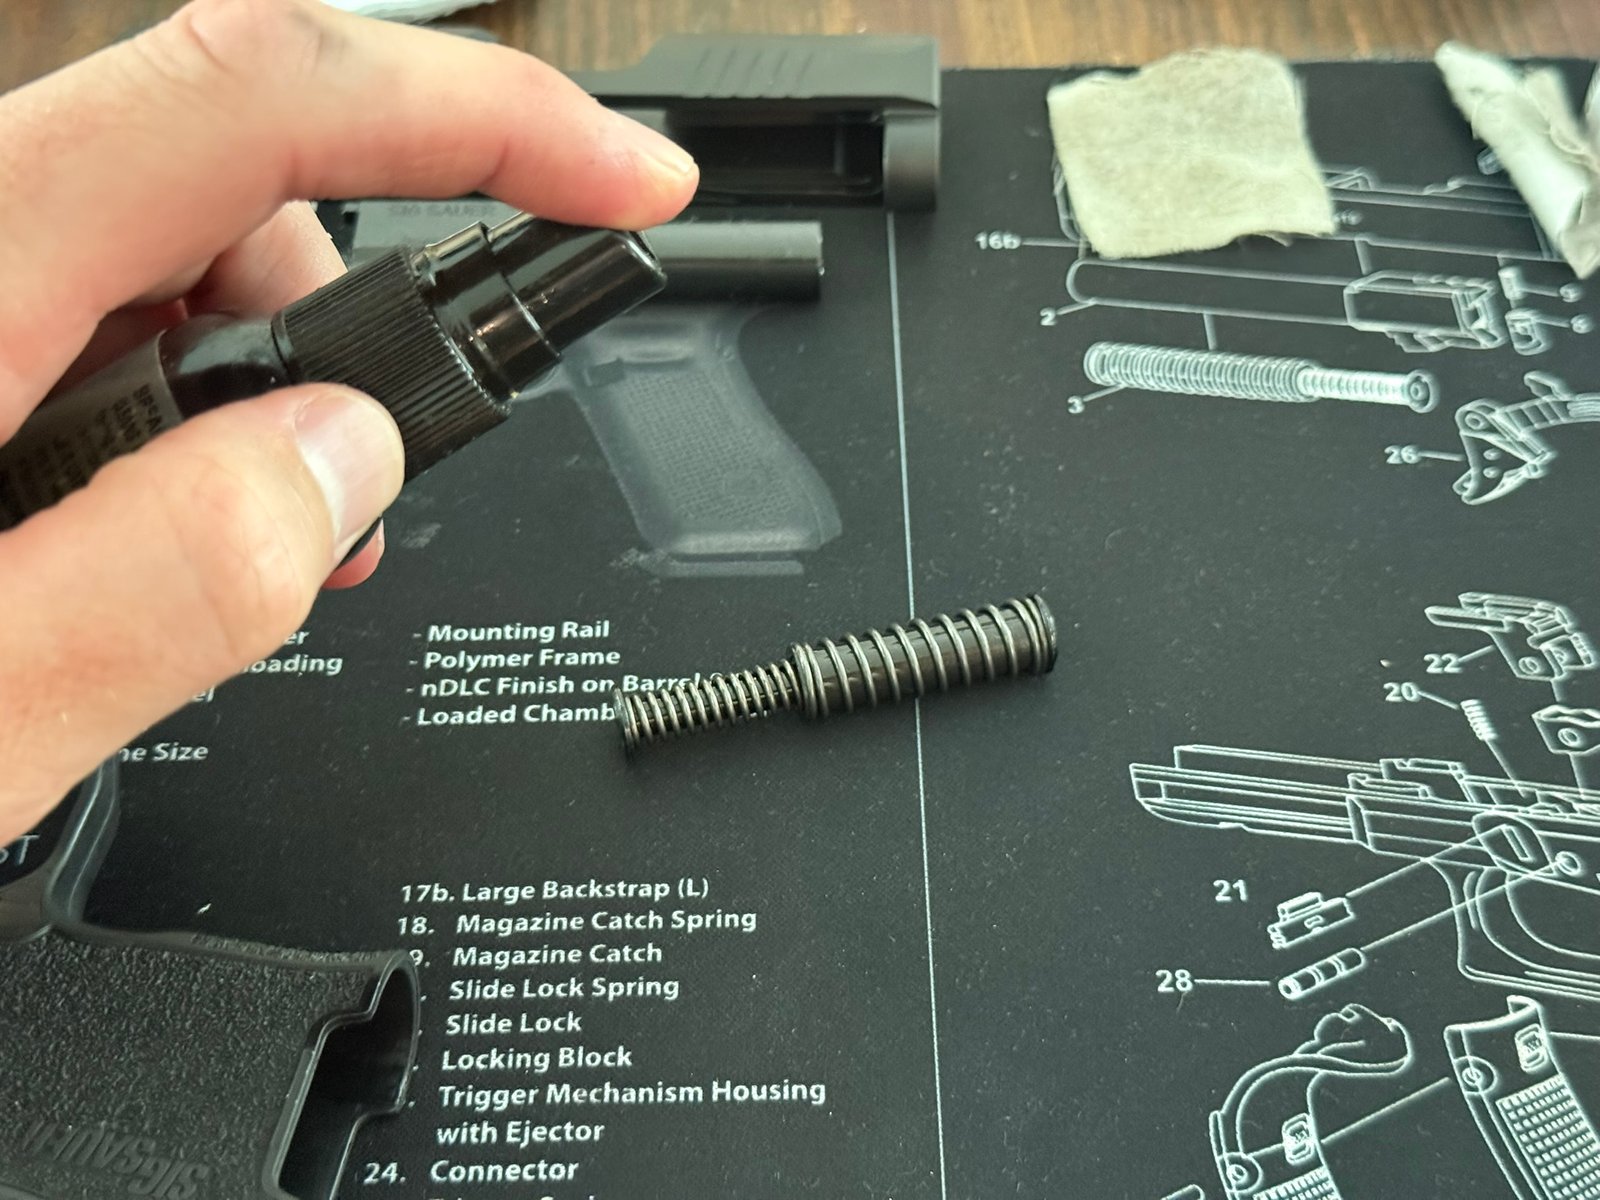
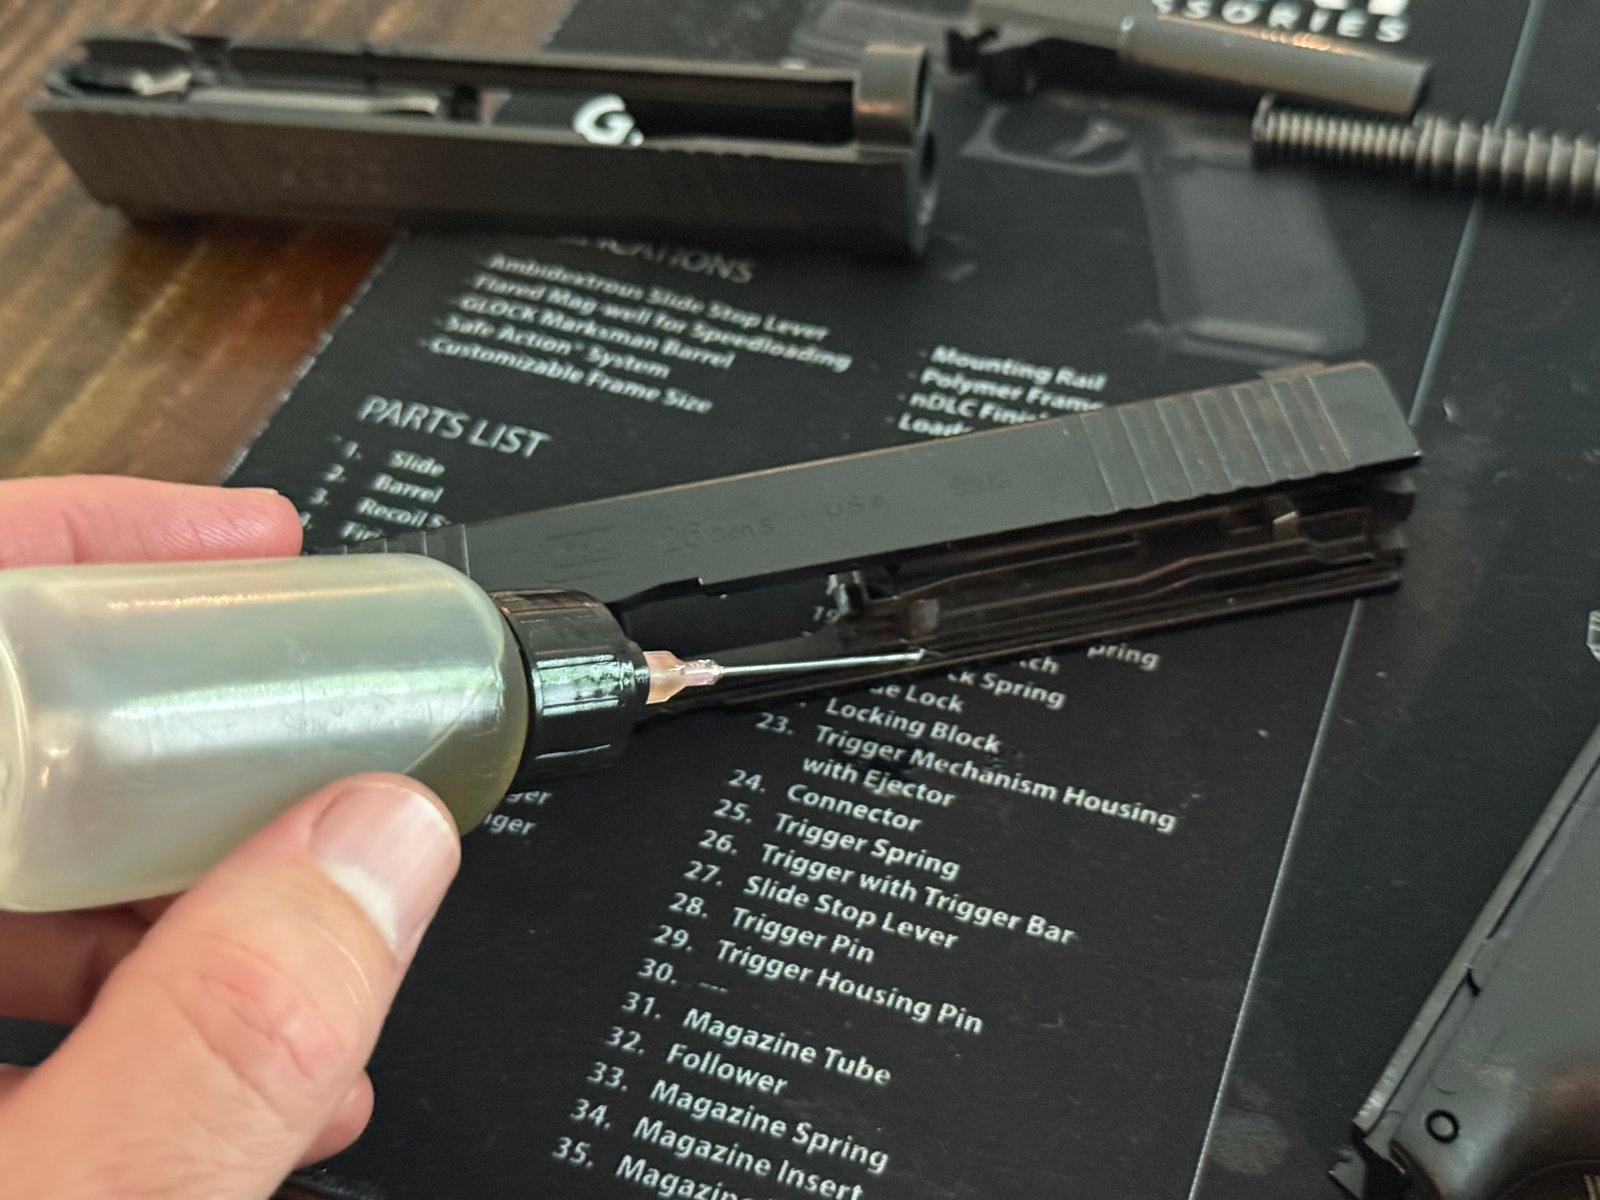
You don’t want it dripping with oil, just enough to make the contact surfaces slick.
Step 8: Reassemble and Function Check
It is time to put your pistol back together. First, insert the barrel into the slide. Next, reinstall the recoil spring. Finally, slide the upper assembly back onto the frame until it locks.

With the pistol reassembled, you need to perform a basic function check by racking the slide. Dry fire, if it is safe to do so with your gun; if you have a modern firearm, it is most likely safe. Owning snap caps is also very useful for this purpose. Finally, check for smooth operation.
Step 9: Wipe Down the Outside
Finish up by giving the exterior a light mist of CLP spray on a clean patch. Wipe down the slide, controls, and grip area (avoid over-oiling grip textures).
Last Words
You don’t need a bench full of tools to keep your Glock or SIG P365 in great shape. With the six products listed here, you’ve got a full cleaning setup that’s compact, affordable, and easy to use, even for beginners.

Cleaning after every range trip is ideal, but at a minimum, clean your carry gun once a month if it’s not being fired regularly. Dust, sweat, and pocket lint still find their way in.
Your pistol is a tool, and like any tool, it needs a little love to stay reliable. With just a BoreSnake, a few patches, and some CLP, you’re already ahead of the game.
Help ensure you don’t miss out on our content. Check out latest articles.