How to Zero a Red Dot Sight, Fast and Simple Methods for Pistols, Rifles, and Shotguns
Learn how to zero a red dot sight with fast, beginner-friendly methods for pistols, rifles, PCCs, and shotguns.
Some of the links in this post are affiliate links. That means if you buy something, I might earn a small commission — it doesn’t cost you anything extra, and it helps keep the content coming.
Introduction: How to Zero a Red Dot Sight
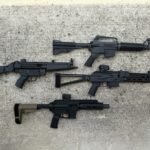
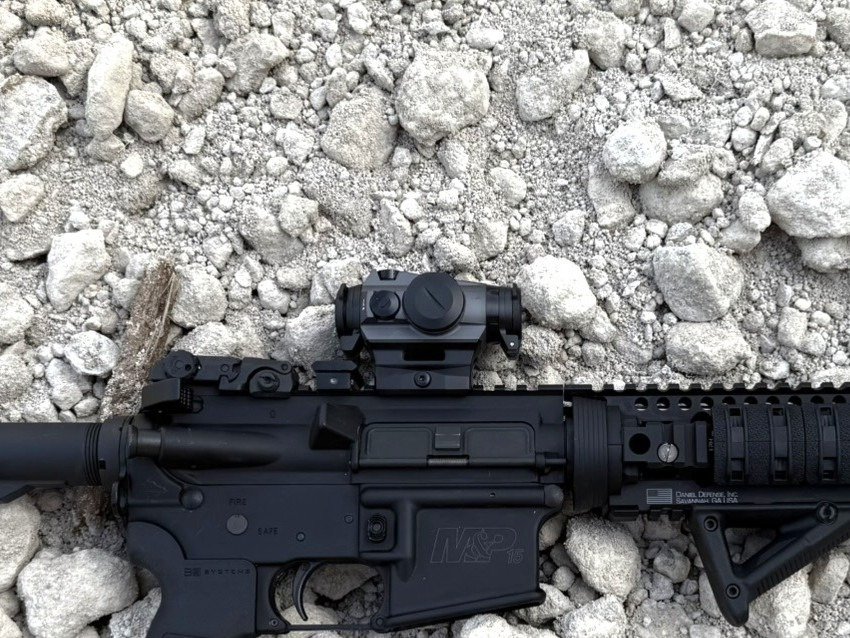
Zeroing a red dot is one of those skills that feels intimidating until you have done it a few times and feel confident in your ability to zero it right. This guide is designed to help you zero your red dot. It will use plain language to help you understand what the dot is doing and how it works with your firearm and your projectile’s ballistics to predict the point of impact. Once you have that down, the whole process becomes predictable and easy. Whether you are running an AR-15 with a Romeo4S, a carry pistol with a Holosun 407K, or a shotgun with Holosun 507C, the fundamentals are the same. The dot tells you where the barrel is pointing at a specific distance. Your job is simply to confirm it.
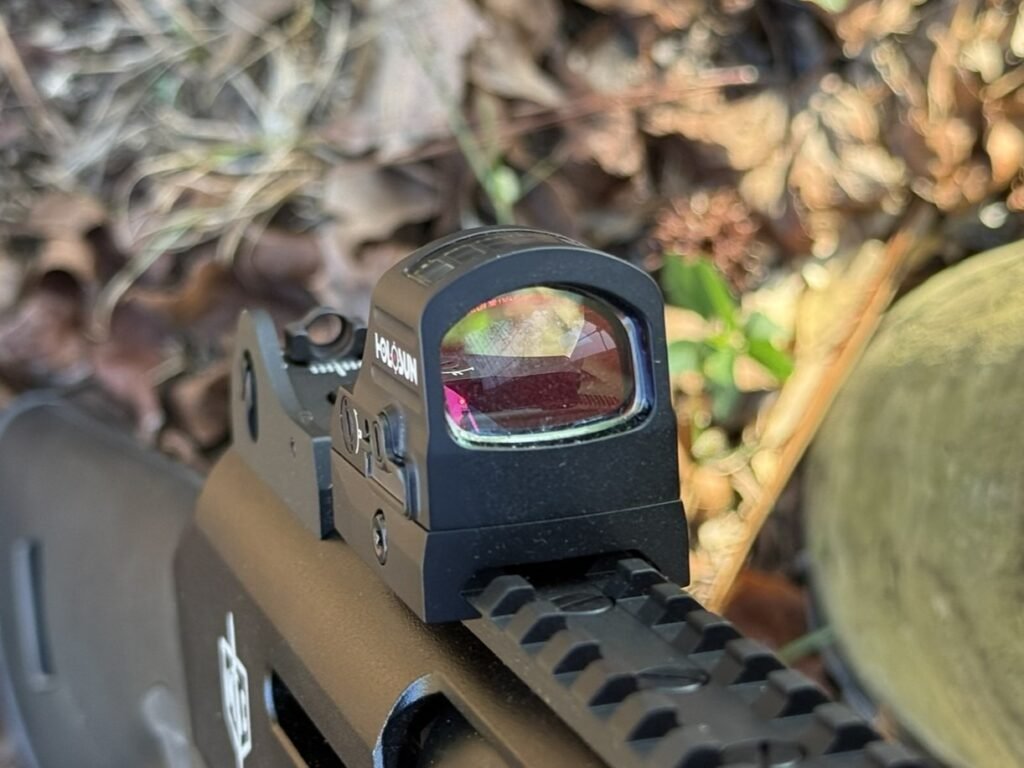
Red Dot Sights I Trust


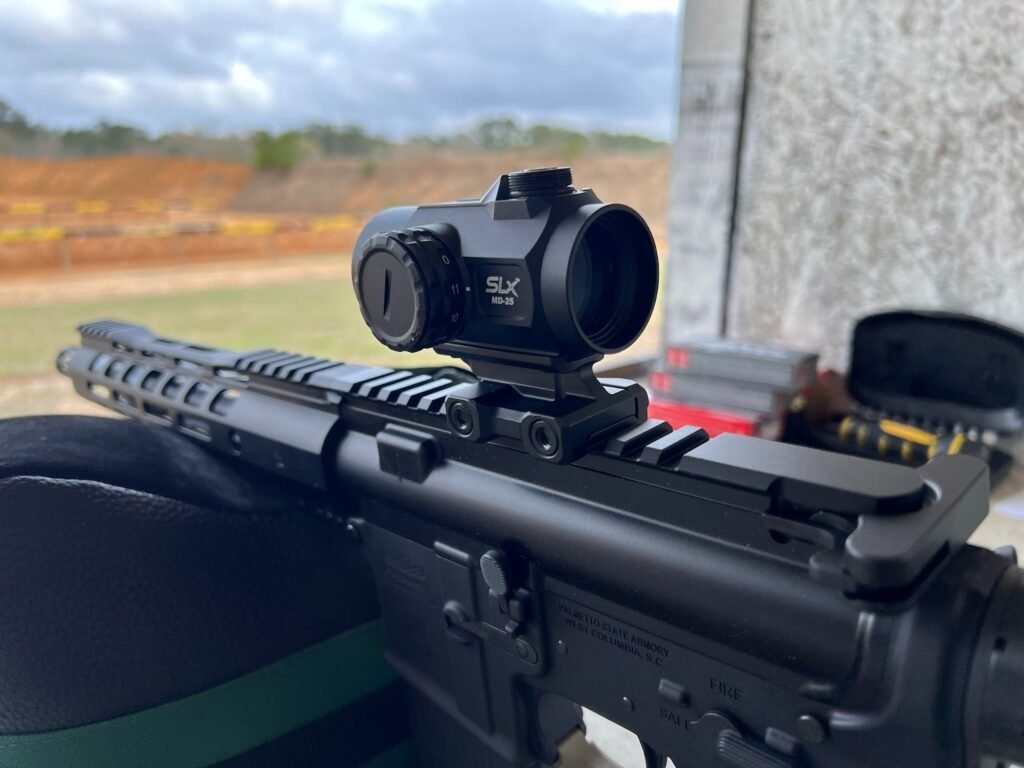
Primary Arms SLx MD-25 Gen II
Primary ArmsThe goal is to walk you through the essentials without turning this guide into a technical manual. You will see how I zero my own rifles, pistols, and PCCs. Plus, I will discuss which distances make sense for different roles and how to avoid mistakes that eat up ammunition and patience. Once these basics click, you will be able to take any gun with a dot, walk onto a range, and leave with a dependable zero.
What Zeroing Actually Means
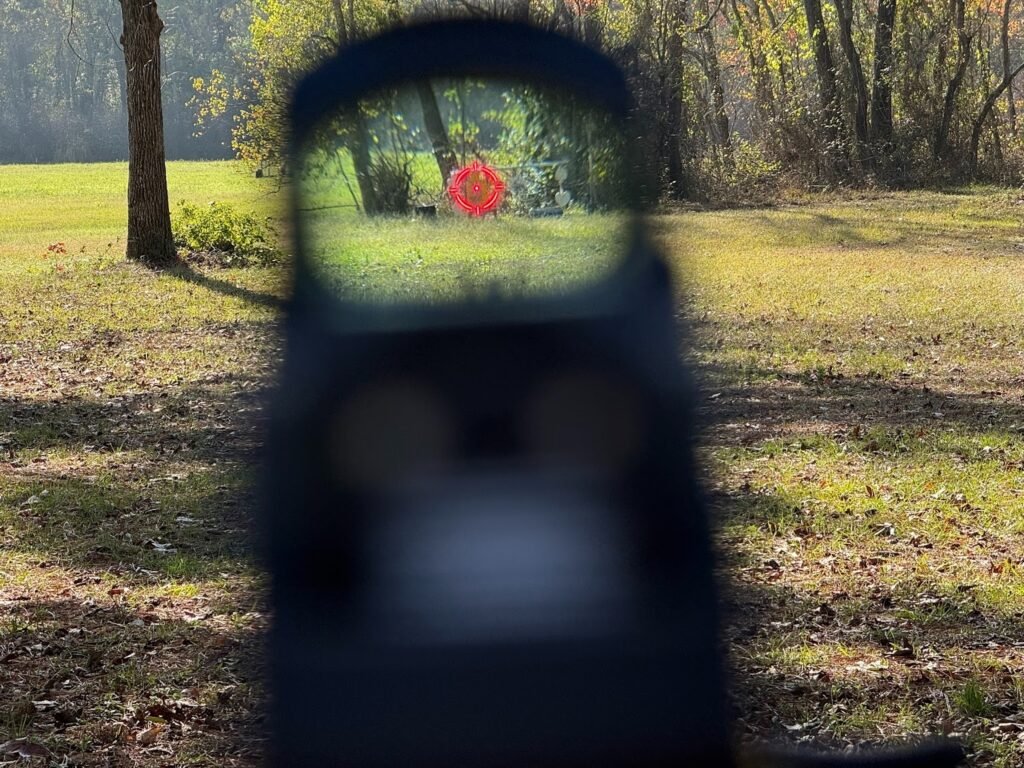
Zeroing basically means your point of aim and the bullet’s point of impact are meeting at a chosen distance or point. When they do this, your sight is “zeroed.” At other distances, the bullet impacts will rise or fall relative to that “zero” point. The zero is your anchor.

A red dot sight makes this easier because the dot stays aligned with your eye. There aren’t two separate sights to find and align like with iron sights. What confuses many new shooters about red dot sights is that their firearm will behave differently depending on the height of the sight above the bore.
AR-15s place the optics higher in relation to the barrel than many other firearms. This means that, at close range, hits will land lower than they would on another firearm until you get to the distance the sight was zeroed at. Conversely, with a pistol, the red dot is closer to the bore and therefore closer to your zero immediately after firing. For shotguns, unless you are shooting slugs, that is a whole other creature, and the pattern behavior of the buck or bird shot is what you are concerned with.
Choosing the Right Zero Distance
There is no perfect distance for every gun. There is only the distance that makes the most sense for what you plan to do.
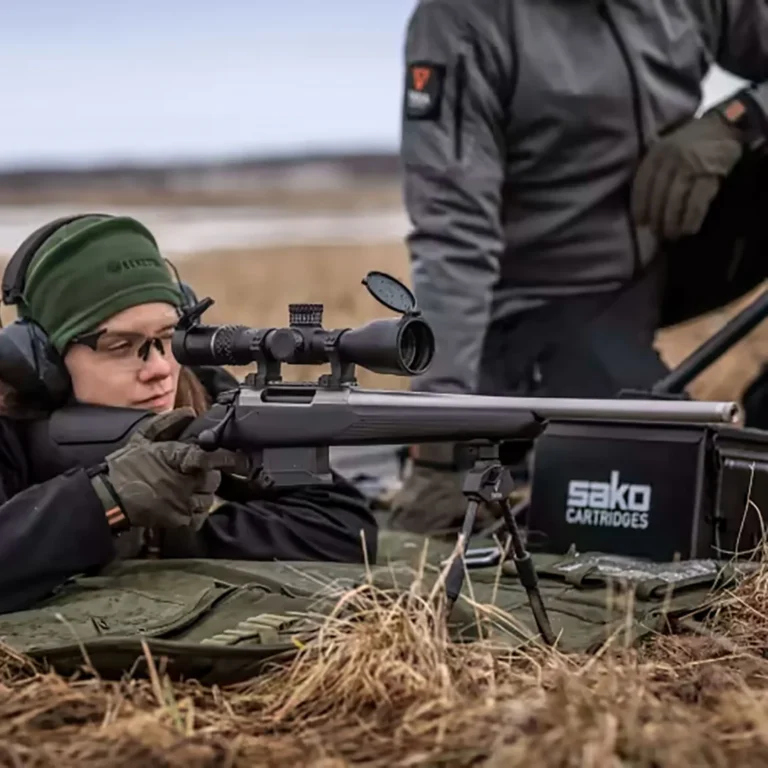
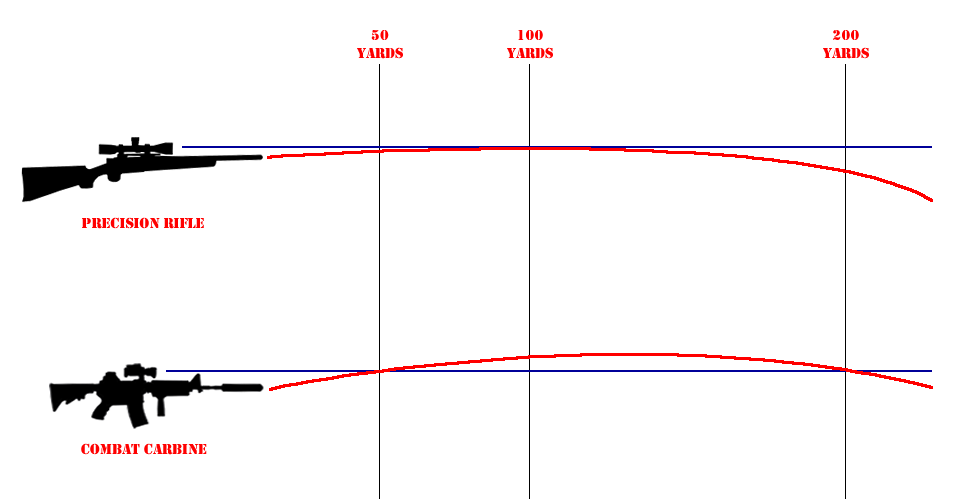
For rifles, a one-hundred-yard zero is the simplest and easiest to confirm. It is the classic choice for AR-15s, and it plays nicely with most 5.56 loads. Another practical alternative is a 50/200 zero. You zero the rifle at 50 yards, and it should result in the rifle being zeroed at 200. What is happening is that the projectile intersects on its upward arc with your point of aim at 50 yards and then intersects again with your point of aim at 200 yards on its downward arc.
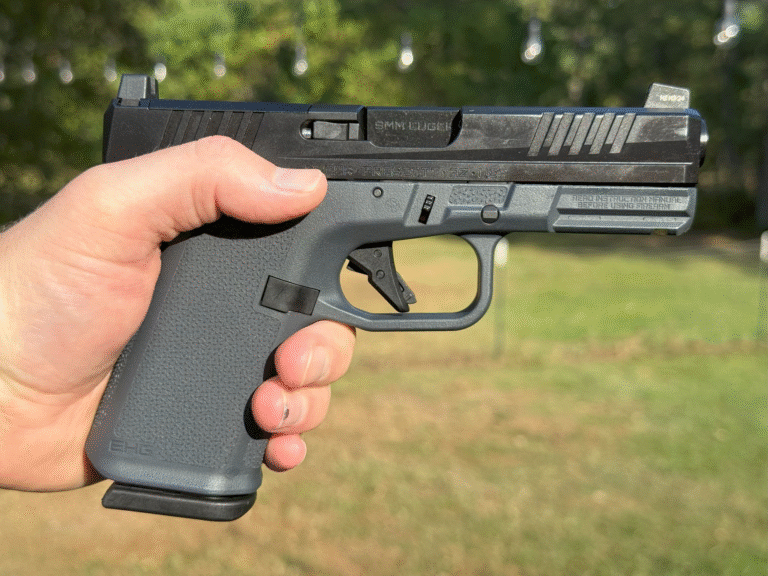
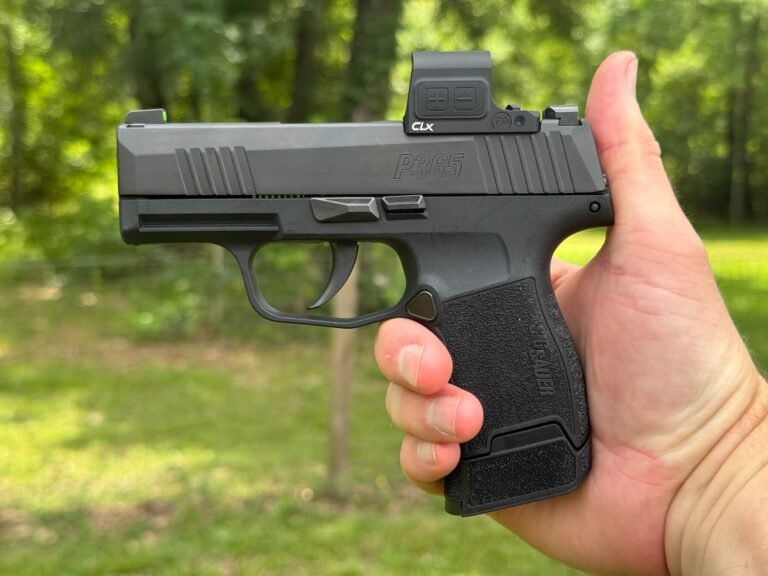
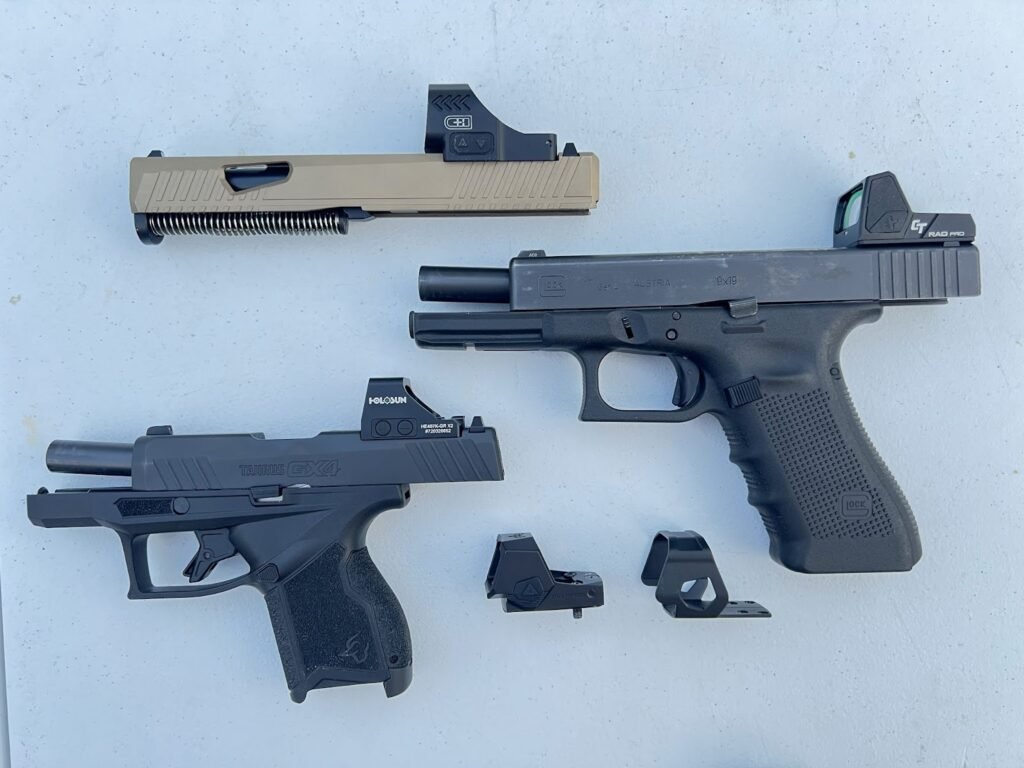
For pistols, ten yards is the best place to start. I like to use a laser cartridge like those available from Mantis and Strikeman. I can get my pistols very close to a perfect zero at 10 yards using a laser cartridge, then work out from there to what I want my final zero to be. A 10-yard zero gives you precise feedback without letting the shooter’s error hide behind the distance. Once you get the dot and impact aligned at ten yards, verifying at fifteen and twenty-five yards shows you how your gun and your grip influence the point of impact. Optics like the Holosun 507C, 407K, and other carry-sized dots track very well when zeroed this way.
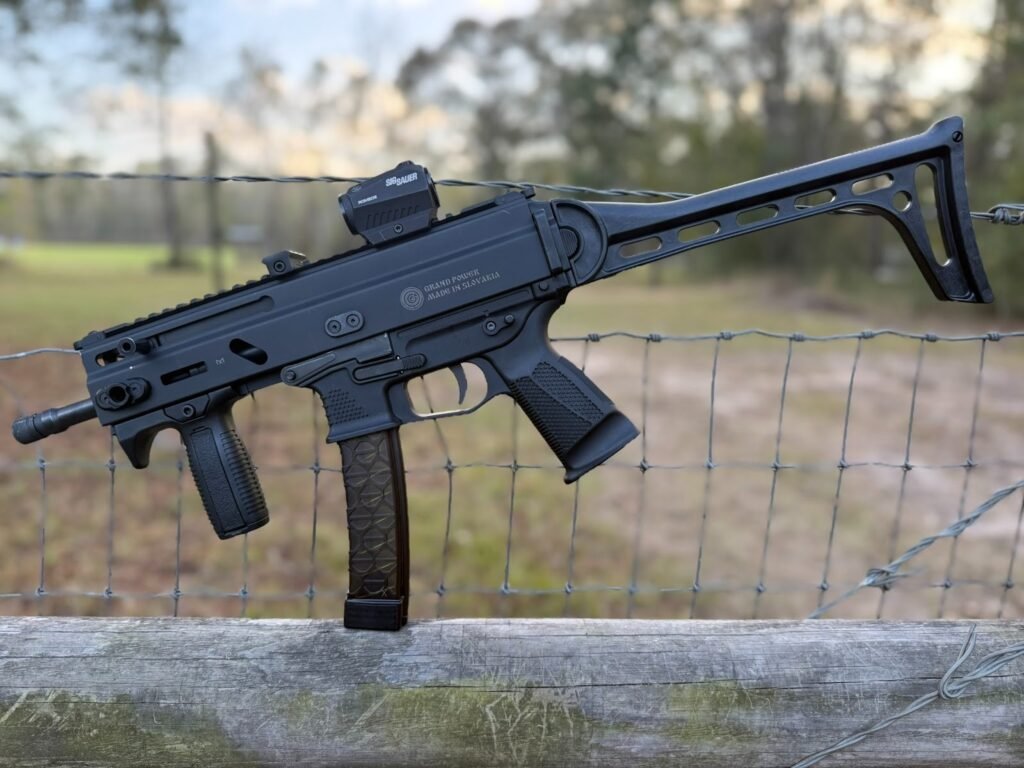
For PCCs, twenty-five yards is ideal. 9mm ballistics being what they are, twenty-five yards is a great choice. With my 25-yard zero, I can still ring steel at 50 and 100 yards with ease.
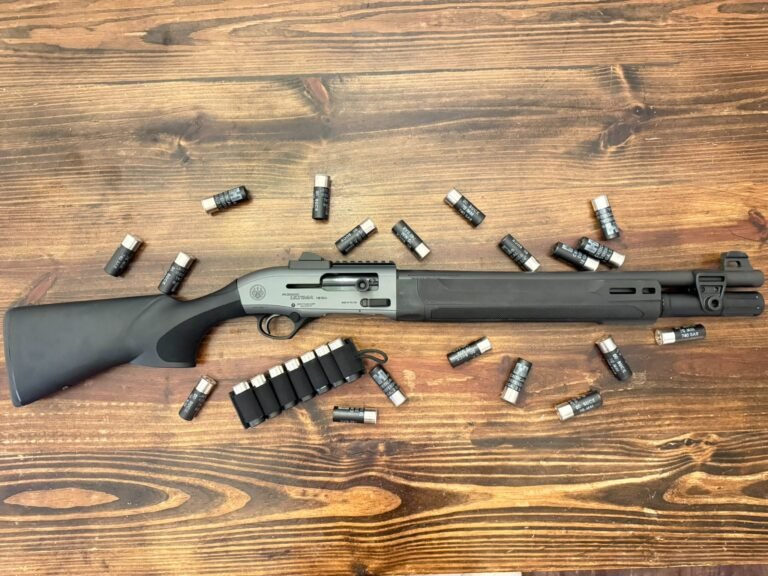
For shotguns, the purpose dictates everything. Slugs should be zeroed at twenty-five yards. Turkey hunters need to confirm the pattern center at 30 to 40 yards with their chosen load. Home defense shooters should evaluate pattern behavior at five to ten yards and confirm that the dot actually represents where the load clusters.
Choose the distance that matches the job, then build everything else around it.
How I Zero Red Dots in the Real World
My own method for zeroing comes from a mix of years of trial and error, range time, and the desire to keep things simple enough to repeat across platforms.
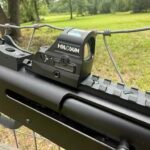
With rifles, I mount the optic and confirm mechanical alignment at close range. I do this by removing the bolt from the rifle with a bolt gun, or the lower with an AR, and literally looking down the barrel at the point of aim, adjusting the red dot to match as closely as possible. Then, depending on my mood, I go to fifty or 100 yards and shoot a three-shot group, which gives me the first data point.
Leaving the rifle aimed at the same location, I then adjust the red dot to be the center of the group. Make sure you adjust based on the group, not on stray impacts. Once the group moves toward the center, I confirm with a five-shot group. Optics like the Sig Romeo5, Holosun 407C, and EOTech 512 make this process predictable because their adjustments are clean and repeatable.
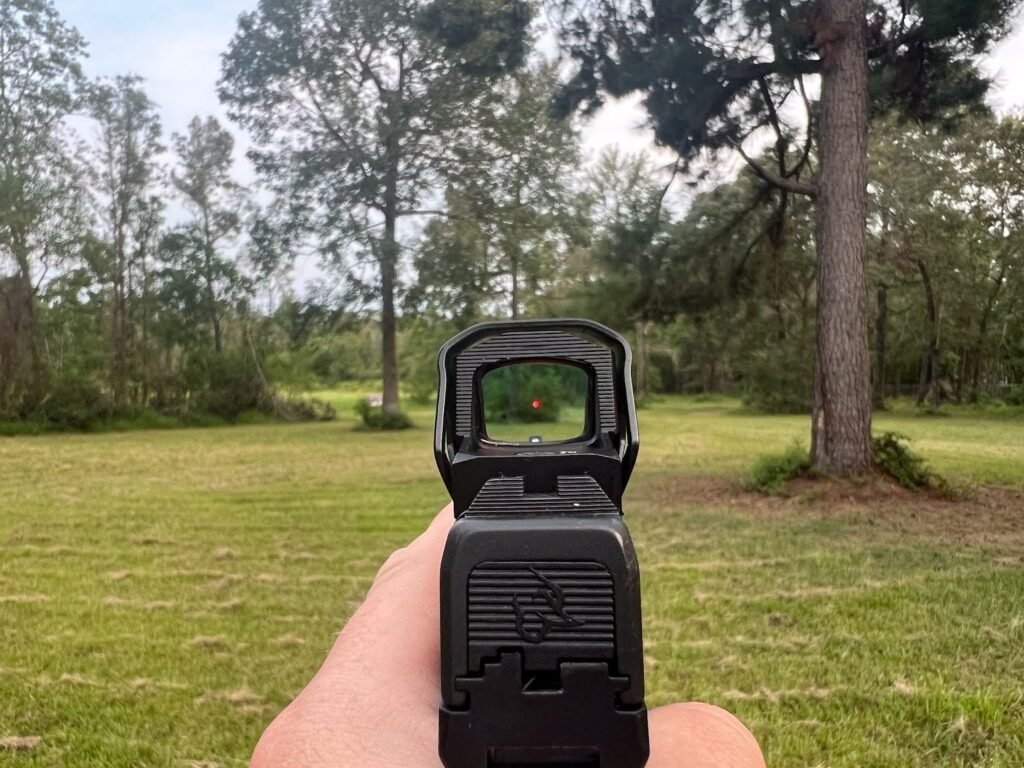
With pistols, I never start beyond ten yards, and I always start with a laser cartridge. You can do the vast majority of zeroing your pistol red dot without ever firing an actual bullet. Like with your rifle, “fire” three shots with your laser, then adjust your point of aim. Now, when you go to the range and fire your first shots, you are already on paper and hopefully need little to no adjustment to have your pistol red dot zeroed. As for the distance you should zero your pistol, I personally stay at 10 yards for all of my self-defense pistols. You need to examine what you are using the pistol for and decide what is best for you. Pistol zeroing is more about the shooter than the optics.
If you are zeroing a pistol caliber carbine (PCC), you should follow the same actions you did with your rifle. Just adjust the distance you zero at. I prefer a 25-yard zero for my PCCs, but 50 yards is not uncommon either.
One Zeroing Method for Any Firearm
Here is the simplest version of the process, whether you are shooting a rifle, a pistol, a PCC, or a shotgun.
Step 1: Stabilize the firearm
Use a bench, sandbags, or a rest for rifles and PCCs, and a controlled stance for pistols. For shotguns using slugs, treat them like a rifle.
Step 2: Confirm mechanical alignment
At close range, ensure the dot is somewhere on the paper. Do not confuse this with actual zeroing. It simply ensures your first group will be visible.
Step 3: Fire a controlled three-shot group
This tells you where the gun is printing. Ignore single fliers. Groups tell the truth.
Step 4: Adjust using MOA math
Most dots move in 1/2- or 1/4-MOA increments. At one hundred yards, one MOA is roughly one inch. At twenty-five yards, it is roughly a quarter-inch. Minor adjustments prevent oscillation.
Step 5: Fire a confirmation group
Once the initial impact moves toward the point of aim, fire a slow five-shot group. This confirms the zero and exposes any inconsistencies in grip, mount, or ammo.
Step 6: Validate at other distances
Rifles confirm cleanly at one hundred yards. Pistols show their true character at fifteen to twenty-five yards. PCCs benefit from a quick fifty-yard check. Shotguns require pattern confirmation, not just impact placement.
This process works for every platform with minor tuning.
Common Mistakes I See All the Time
Most zeroing problems come from a handful of predictable issues.
- Loose mounting screws
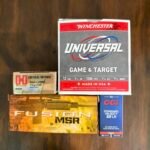
- Swapping ammo mid-session
- Inconsistent cheek welds on rifles
- Inconsistent presentation on pistols
- Overcorrecting after single shots
- Chasing parallax instead of centering the dot
- Firing too quickly to establish a real group
I have lost time to most of these myself. A simple torque check and a little patience solve most of them.
Why Your Zero Keeps Drifting
A drifting zero is usually trying to tell you something. Maybe the optic got snagged on something. It may have gotten a hard hit. Temperature changes loosened a mount. Maybe you’re using different ammo. Low-quality optics can lose repeatability over time. Before adjusting the sight, check the mount, check the screws, and confirm the ammo. Most “wandering zeros” turn out to be mechanical, not optical.
Tools That Make Zeroing Faster and Easier


Last Words
A red dot zero is not something you set once and forget forever. Check it when you change ammunition. Check it after you travel. Check it anytime the gun takes a hit. This does not mean every trip to the range requires a full re-zero. A simple three-shot group at your primary distance tells you everything you need to know.
Recommended Red Dot Sights I Trust
Primary Arms SLx MD-25 Gen II
Primary ArmsFAQ
What distance should I choose for zeroing a red dot?
One hundred yards for rifles, twenty-five yards for PCCs, ten yards for pistols, and twenty-five yards for slugs.
Do holographic sights zero the same way as red dots?
Yes. The process is identical.
Why does my pistol’s zero shift over time?
Grip and presentation vary from session to session. This is normal for pistols.
How often should I confirm my zero?
Anytime you change ammo, travel with the firearm, or experience an impact.
Can I zero indoors?
Yes, but verify outside at your actual zero distance when possible.